
 Guards + Retainers
 Custom Night Guard
 Retainer
 Emergency Order

 Whitening
 Whitening Kit
 Teeth Whitening Gel
 Dual-Action Foam
 Cleaning + Care
 Ultrasonic Cleaner Pro
 Water Flosser
 UV Toothbrush Sanitizer
 Deep Clean + Freshening Tablets
 Accessories
 Guard Removal Tool
 Replacement Nozzles
 Bundles

You wear your night guard to protect your teeth from grinding and clenching, but if you're not thinking about how to clean a night guard daily, that same guard can become a breeding ground for bacteria. Within hours of use, saliva, plaque, and bacteria accumulate on the surface, leading to unpleasant odors, discoloration, and potential oral health issues.
The good news? Keeping your night guard fresh doesn't require much time or effort. A consistent daily cleaning routine takes just a few minutes and makes a real difference in how long your guard lasts and how it feels in your mouth each night. Skipping this step is one of the most common mistakes night guard owners make, and one of the easiest to fix.
At Remi, we've helped over 350,000 customers protect their teeth with custom-fitted night guards, and proper care is something our team gets asked about constantly. Below, we'll walk you through a practical daily cleaning routine, cover the best methods and products to use, and explain what to avoid so your night guard stays fresh, clear, and odor-free for months to come.
What you need and what to avoid
Before you get into the actual steps of how to clean a night guard daily, it helps to know exactly which tools work and which ones silently damage your guard over time. You don't need anything expensive or specialized. A short list of basic supplies is all it takes, and having them ready before you start your routine makes the whole process faster and more consistent.
The supplies that work
Most of what you need is already in your bathroom. A soft-bristled toothbrush dedicated solely to your night guard (not the one you use on your teeth) and a mild dish soap or fragrance-free hand soap are the two core items for daily cleaning. Cool or lukewarm water rounds out the basics since heat distorts the material over time.
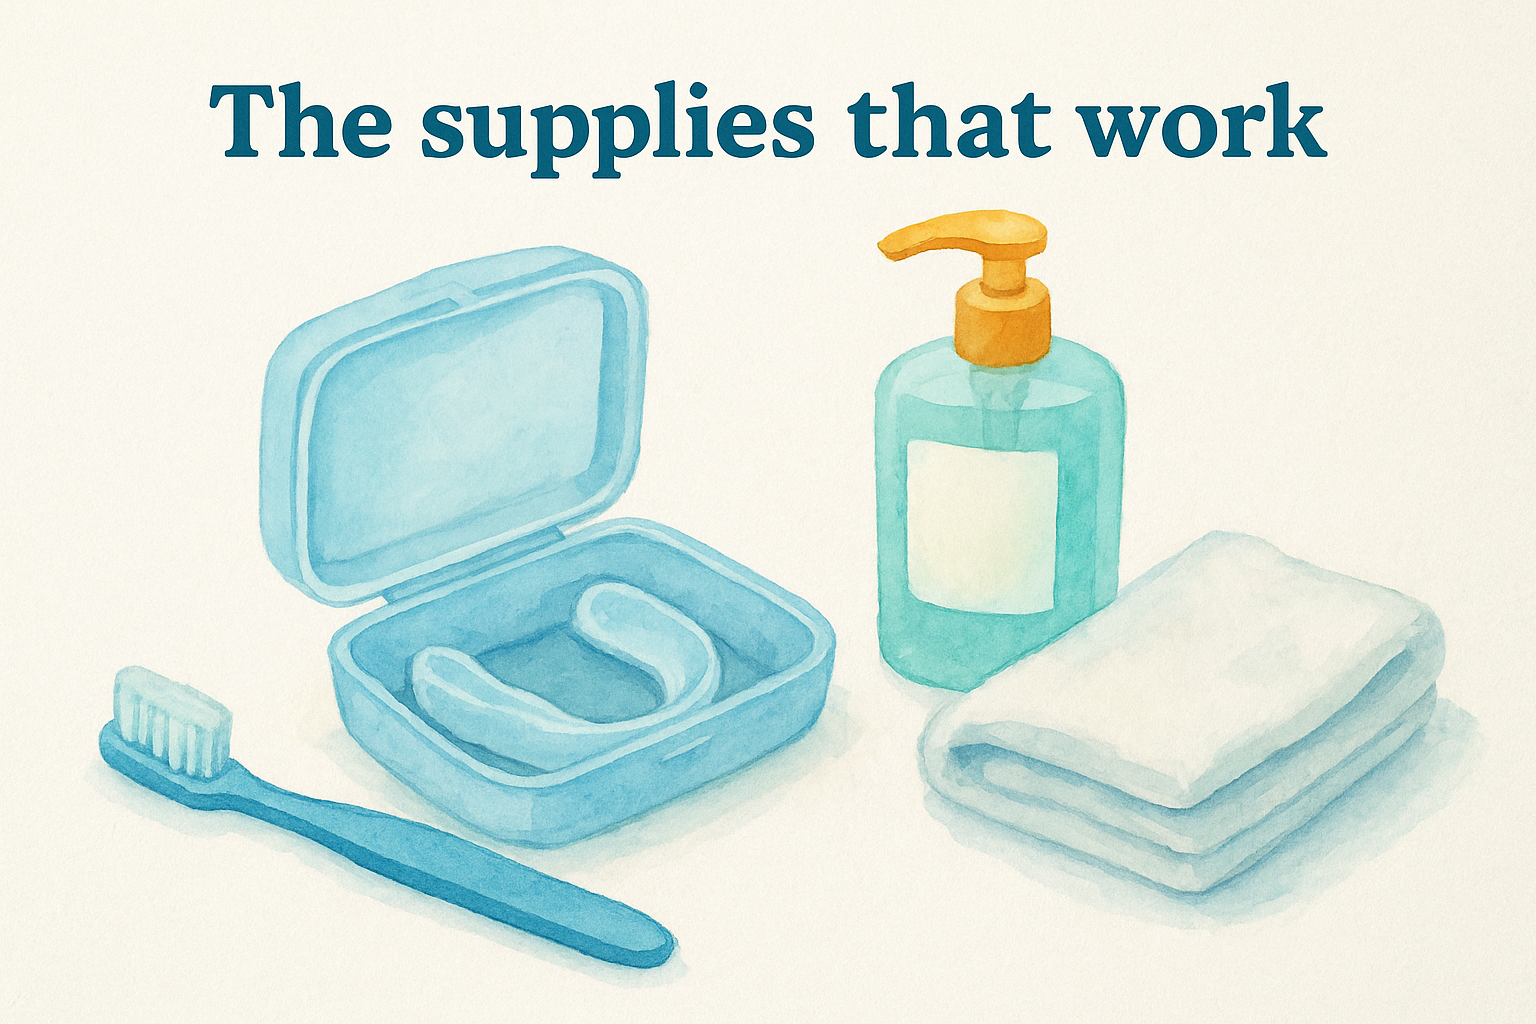
Here's what to keep near your sink:
| Supply | Purpose |
|---|---|
| Soft-bristled toothbrush (dedicated) | Scrubbing surfaces and grooves without scratching |
| Mild dish soap or hand soap | Removing bacteria and saliva buildup |
| Cool or lukewarm water | Rinsing without warping the fit |
| Clean towel or paper towel | Patting dry before storage |
| Ventilated storage case | Allowing airflow to prevent moisture buildup |
Using a separate toothbrush just for your night guard prevents cross-contamination and gives you better access to the detailed edges and ridges.
What damages your night guard
Several common household products feel like obvious cleaning solutions, but they actually scratch the surface or break down the material, creating tiny grooves where bacteria settle and multiply. Knowing what to skip protects both the guard itself and your gum tissue.
Avoid these entirely:
- Toothpaste: Most formulas are abrasive and will micro-scratch the surface over time
- Hot or boiling water: Heat permanently warps the custom fit
- Bleach or hydrogen peroxide: Too harsh for the material and can cause degradation
- Alcohol-based mouthwash: Dries out and cracks the plastic over repeated use
- Strongly scented or degreasing dish soaps: Leave residue that irritates your gums
If you've been reaching for toothpaste out of habit, switching to plain mild soap right away will reduce the buildup of fine surface scratches that trap odor-causing bacteria. The right supplies cost almost nothing and make every other step in this routine far more effective.
Step 1. Rinse and inspect it right after wear
The moment you take your night guard out in the morning is the best time to act. Saliva and debris are still loose on the surface, which means a quick rinse right away removes the bulk of the buildup before it has a chance to dry and harden. This first step is the foundation of knowing how to clean a night guard daily without making the whole routine feel like extra work.
How to rinse it properly
Hold your night guard under cool or lukewarm running water for about 20 to 30 seconds. Rotate it so water hits every surface, including the inner ridges and the bite surface where most of the buildup concentrates. Skip the hot water even briefly, since even a short blast of heat can begin to warp the custom fit that makes your guard comfortable and effective.
Rinsing right after removal takes under 30 seconds and stops the saliva film from drying into a harder residue that scrubbing alone can struggle to fully lift.
What to look for during inspection
After rinsing, hold your guard up to a bright light source and take 10 seconds to scan the surface before setting it down. You're checking for cloudy white deposits from [mineral buildup in saliva](https://shopremi.com/blogs/night-mouth-guard-blog/how-to-clean-night-guard-at-home), yellowing near the bite line, hairline cracks along the edges, or any rough texture that wasn't there before. Catching these early means you can deal with them before they become a bigger problem.
Run through this quick checklist each morning:
- White or chalky film anywhere on the surface
- Yellow tinting, especially along the bite line
- Cracks or chips at the edges
- Rough or pitted spots that feel different than usual
- Any odor that the rinse didn't clear
Step 2. Brush it clean with soap and cool water
Once you've rinsed off the loose debris, brushing is the step that actually cleans your night guard rather than just wetting it. This is where you remove the bacterial film that a rinse alone leaves behind. Think of this as the core of how to clean a night guard daily, the part that keeps odor from building up and extends the life of the guard.
How to brush your night guard
Put a small drop of mild dish soap or fragrance-free hand soap on your dedicated soft-bristled toothbrush. You only need enough to create a light lather. Then brush every surface in slow, circular motions for 60 to 90 seconds, covering the inner arch, the outer face, and the bite surface where the deepest grooves hold the most buildup.
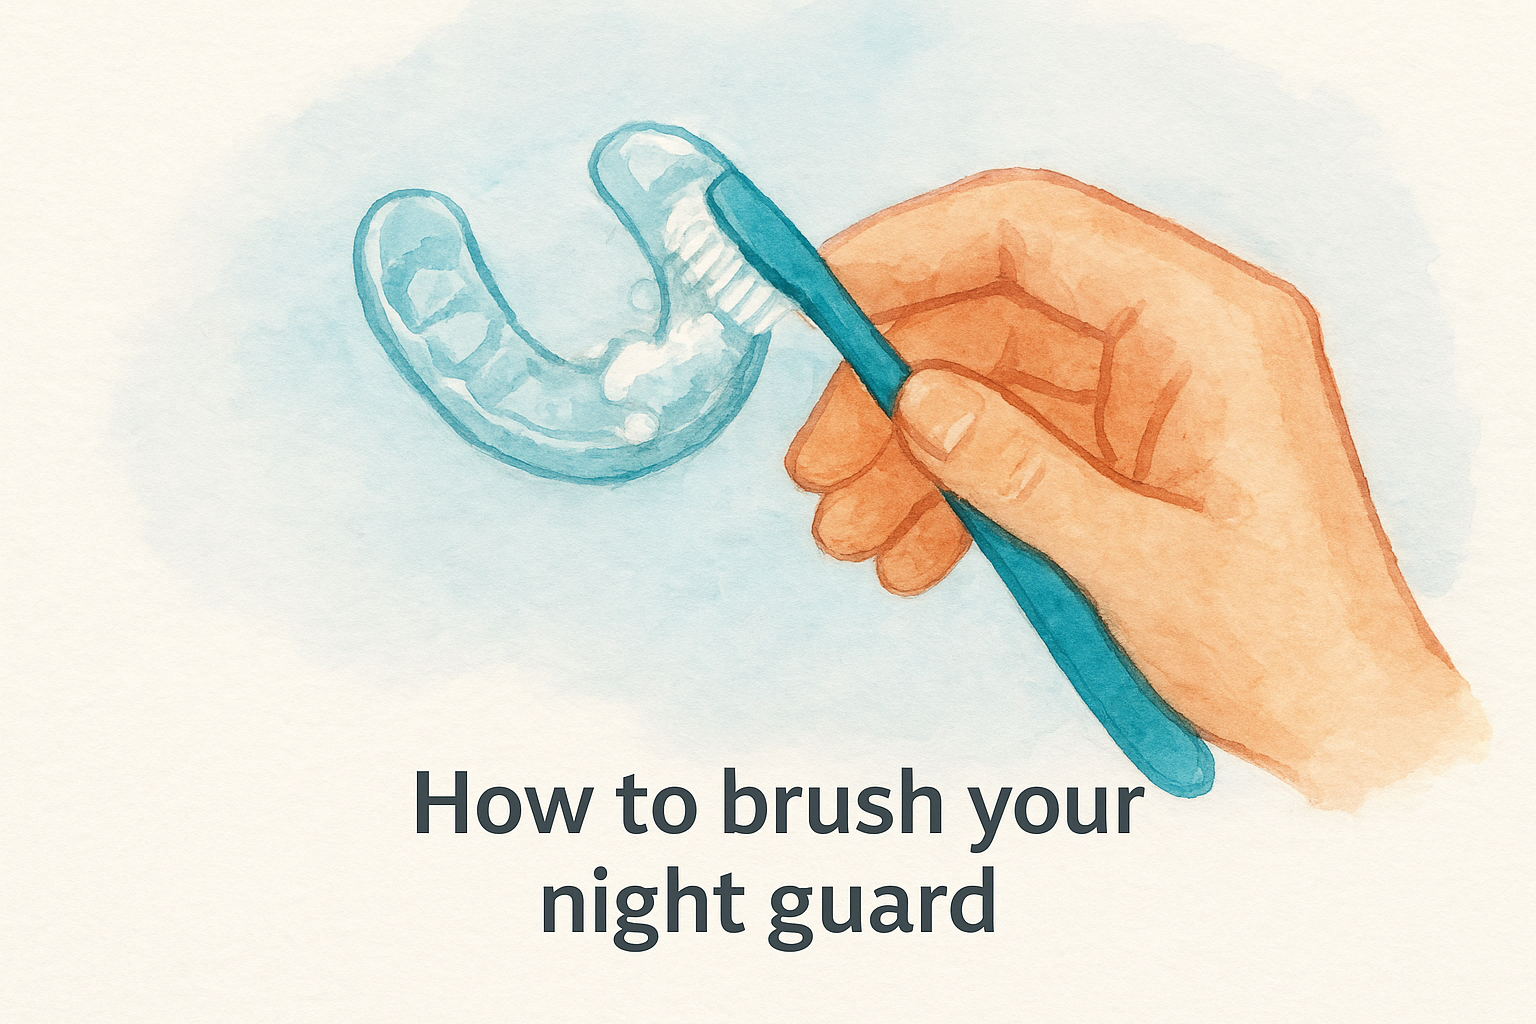
Follow this brushing sequence for complete coverage:
- Start on the outer face and work from one end to the other
- Flip to the inner arch and follow the same end-to-end motion
- Focus on the bite surface, pressing gently into each groove and ridge
- Rinse under cool running water until all soap residue is gone
Spending a full 60 to 90 seconds brushing makes a visible difference in how clear your guard stays week over week.
What to watch for while brushing
Check that no cloudy residue or soapy film remains after your final rinse. Any leftover soap irritates your gum tissue and creates an unpleasant taste when you wear the guard. If you notice persistent staining or rough spots that scrubbing doesn't clear, that's a signal to move to a deeper cleaning method, which the next steps cover.
Step 3. Dry it fully and store it correctly
Most people rinse and brush their night guard, then drop it straight into its case. That sequence skips a step that matters more than it looks: drying the guard completely before storing it. Moisture trapped in a closed case is the primary reason night guards develop odor, and fixing it costs you nothing but 10 extra minutes.
How to dry your night guard
After your final rinse, shake off the excess water and set your guard on a clean paper towel or dry cloth in an open area. Pat the surfaces lightly, then let it air dry for at least 10 to 15 minutes before placing it in its case. Avoid rubbing aggressively since that can leave fibers in the grooves.
Skipping the drying step is the single most common reason a clean night guard still smells within a day or two.
Your drying checklist:
- Pat with a clean, lint-free towel immediately after rinsing
- Set it on a dry surface away from direct sunlight
- Wait 10 to 15 minutes before closing it in the case
- Check that the bite surface is dry to the touch before storing
How to store it properly
Your storage case matters just as much as how you dry the guard. Use a ventilated hard case that allows airflow rather than a sealed container that traps any remaining moisture. Place the case somewhere clean and dry, not inside a bathroom cabinet where humidity from showers accumulates.
Two habits that make a difference: rinse your case with cool water every few days and let it air dry open before closing it again. A clean case paired with a fully dry night guard gives you the best possible starting point each night.
Fix odor, stains, and buildup between cleanings
Daily cleaning handles the routine layer of bacteria and saliva, but mineral deposits, yellowing, and persistent odor can still develop over time even when you're consistent. Knowing how to clean a night guard daily is half the battle; the other half is catching these deeper issues early and using the right method before they become permanent.
When to do a deeper clean
A deeper clean once or twice a week makes a real difference in keeping your guard clear and odor-free. If you notice a white chalky film that brushing won't remove, a faint smell after your normal routine, or any yellowing along the bite line, those are signals that a short soak is overdue. Don't wait until the buildup is visible.
A weekly soak removes the mineral and bacterial buildup that daily brushing alone cannot fully reach.
Signs you need a deeper clean soon:
- Persistent odor that stays after your normal routine
- Cloudy or hazy appearance on any surface
- Yellow or brown tinting near the grooves
- A film that won't scrub off with soap and a toothbrush
How to handle stubborn buildup and stains
For a deeper clean, dissolve one denture cleaning tablet in a cup of cool water and soak your night guard for 15 to 30 minutes. Denture tablets are specifically formulated to break down bacterial film and mineral deposits without damaging the guard material. After the soak, brush lightly with your dedicated toothbrush and rinse thoroughly under cool running water.
For heavy staining, mix equal parts white vinegar and cool water and soak for 30 minutes, then rinse completely before wearing. Never mix the two methods in the same session.
Keep your night guard fresh for the long run
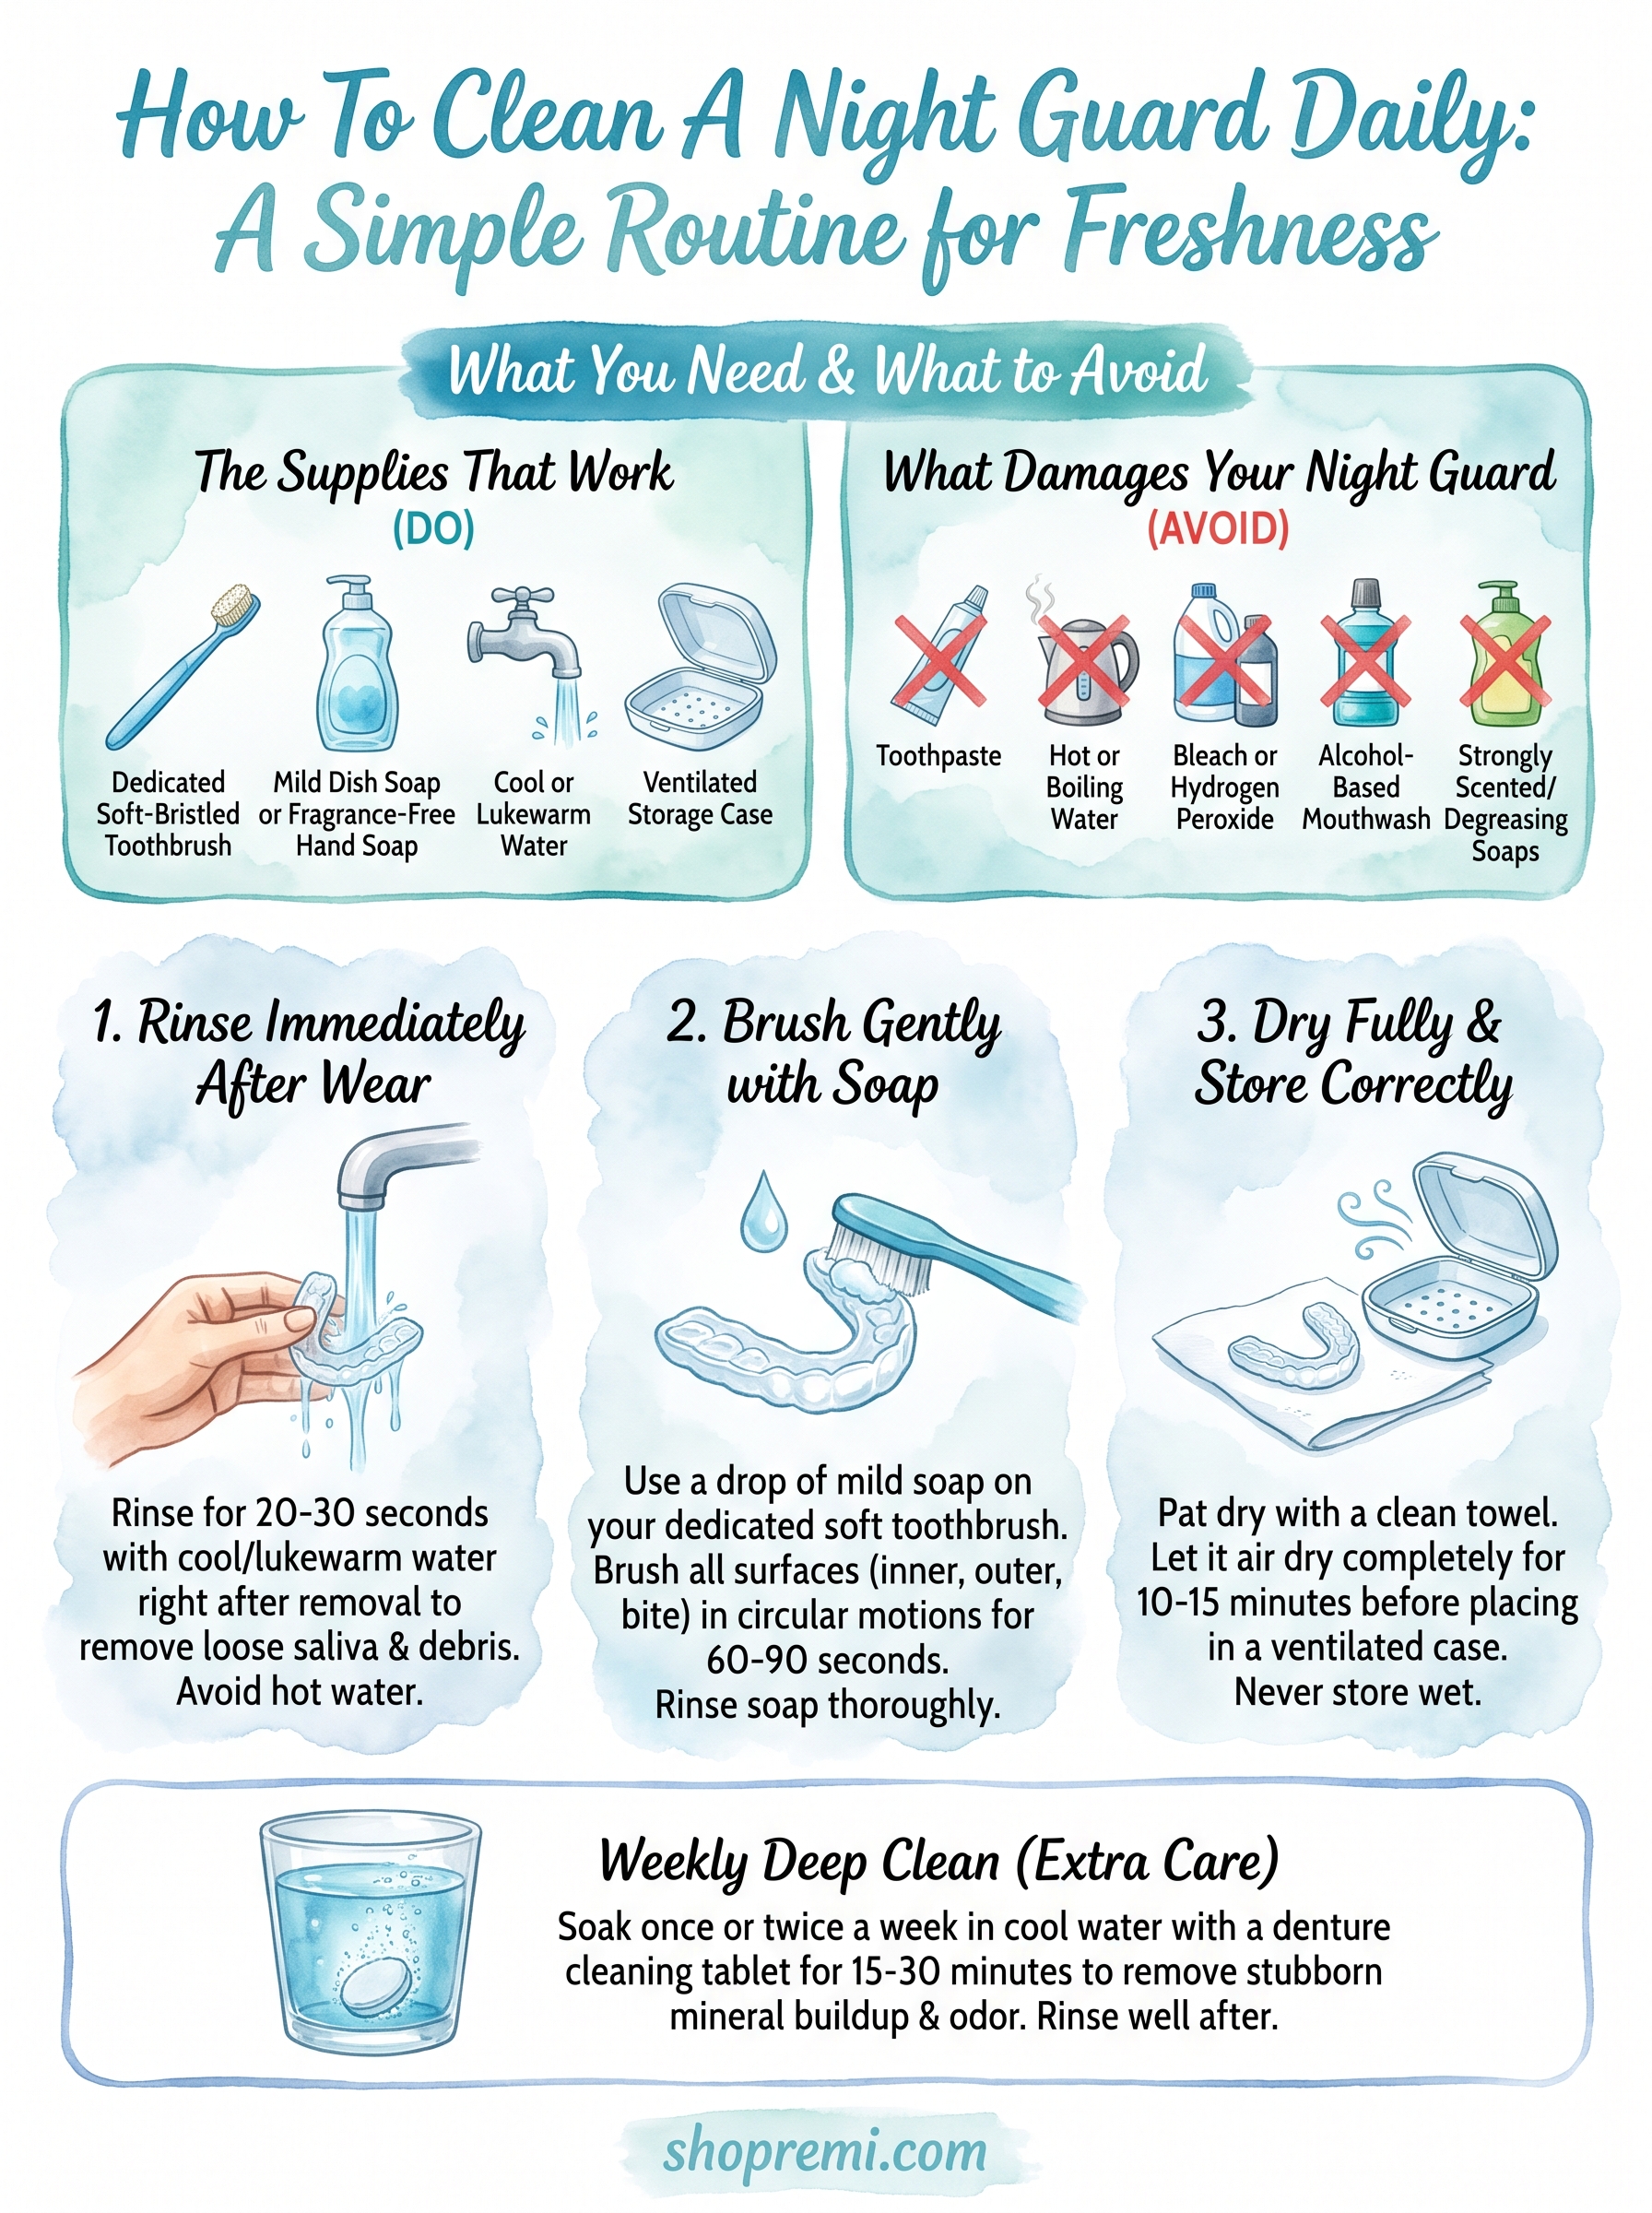
The daily steps in this guide add up to less than five minutes each morning, but they compound into significantly better hygiene and a longer-lasting guard. Rinsing immediately after wear, brushing with mild soap, drying fully before storage, and doing a weekly deep soak covers everything you need to know about how to clean a night guard daily. Stick with that sequence and you'll notice less odor, better clarity, and a guard that holds its fit for much longer.
Your night guard also works best when it's custom-fitted to your teeth. A poorly fitting guard collects more bacteria in the gaps and is harder to clean thoroughly. If your current guard is worn down, cracked, or starting to feel loose, consider replacing it with a professional-grade option built to last. Remi's custom night guard gives you a dental-quality fit at a fraction of the dentist's price, delivered directly to your door.

