

Your clear retainer keeps your teeth aligned after orthodontic treatment. But if you neglect it, bacteria multiply fast. The result? Bad breath, cloudy plastic, potential tooth decay, and a retainer that might need replacing sooner than expected. You invested time and money into your smile. Now you need to protect that investment.
The good news is that proper maintenance takes just minutes each day. A simple routine of daily cleaning, weekly deep disinfection, and smart storage habits will keep your retainer fresh, clear, and effective for years. You don't need expensive products or complicated techniques.
This guide walks you through exactly how to care for your clear retainer. You'll learn a quick daily cleaning method, discover the best weekly deep clean approach, master safe storage practices, and avoid the mistakes that damage retainers. Follow these steps and your retainer will stay in excellent condition while protecting your smile.
Why clear retainer maintenance matters
Your retainer sits in your mouth for hours every day, making it a breeding ground for bacteria. Saliva, food particles, and plaque accumulate on the surface quickly. Without proper care, these substances create problems that affect both your oral health and the retainer itself. Understanding why clear retainer maintenance is critical helps you stay motivated to follow a consistent routine.
Bacteria and plaque buildup
The warm, moist environment of your retainer allows bacteria to multiply rapidly. These microorganisms form a sticky film called plaque that clings to both your teeth and the plastic material. When you put a dirty retainer back in your mouth, you transfer harmful bacteria directly onto your teeth and gums. This increases your risk of tooth decay, gum inflammation, and persistent bad breath.
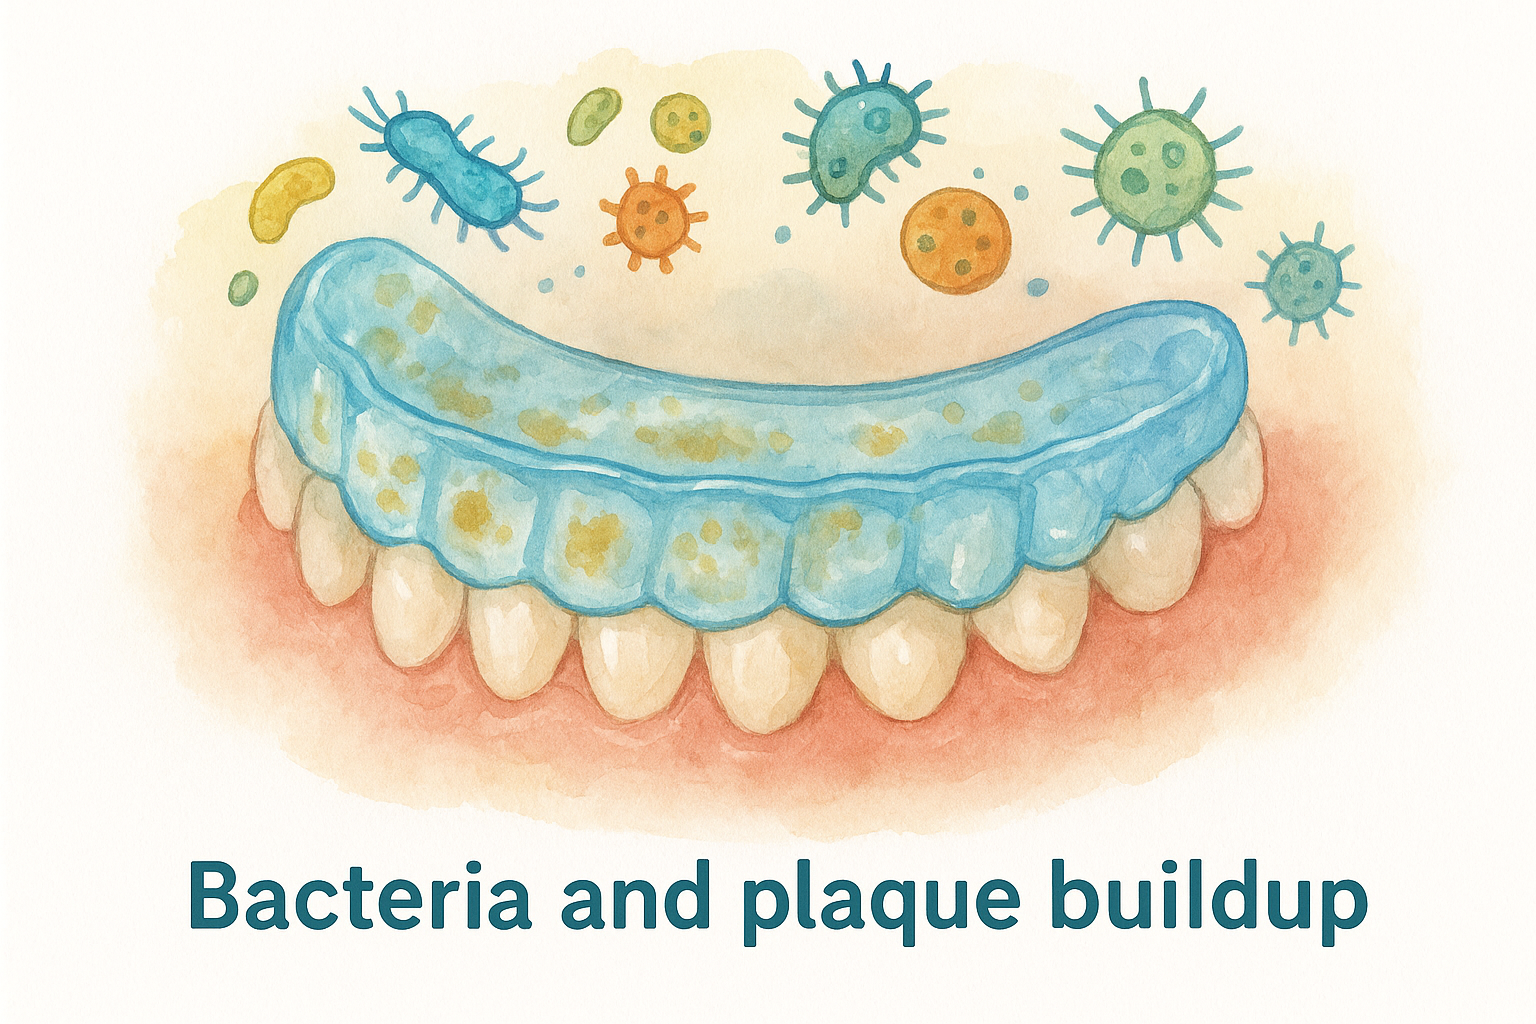
Plaque that hardens into tartar can damage your retainer material and irritate your gums over time.
Retainer lifespan and cost savings
Proper cleaning extends the life of your retainer significantly. Acids, sugars, and residual plaque gradually degrade plastic materials, causing warping, cracks, or cloudiness. A damaged retainer loses its shape and effectiveness, forcing you to pay for early replacement. Regular maintenance keeps the plastic clear and structurally sound, saving you money in the long run.
Step 1. Set up your daily cleaning routine
Daily cleaning prevents bacterial buildup and keeps your retainer crystal clear. You need a simple system that takes just two minutes each time you remove your retainer. This routine works best when performed twice daily: once in the morning and once before bed. Consistency matters more than perfection. A quick daily clean beats an occasional deep clean every time.
What you need for daily cleaning
Your clear retainer maintenance toolkit requires just a few basic items. You don't need expensive specialty products to keep your retainer in excellent condition. Most effective cleaning happens with items you already own.
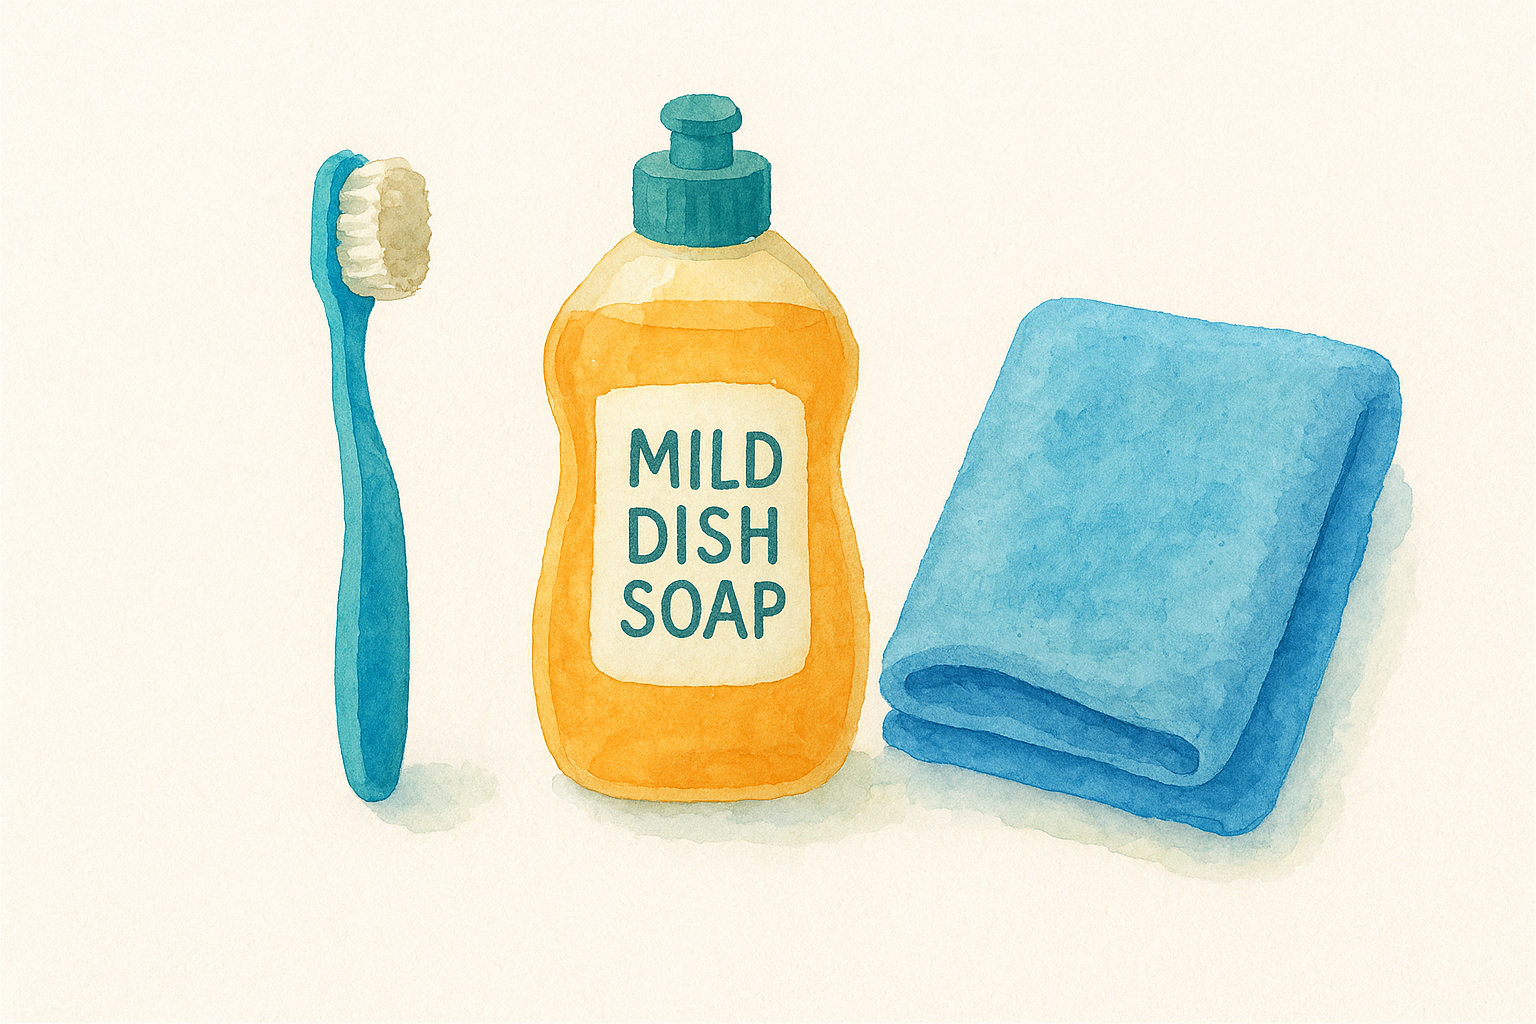
Essential supplies:
- Soft-bristled toothbrush (dedicated for retainer use only)
- Mild dish soap (unscented, clear formula works best)
- Lukewarm water (never hot water)
- Clean towel or paper towel for drying
Keep these items in a specific spot near your bathroom sink. Having everything in one place makes the routine automatic.
A separate toothbrush for your retainer prevents transferring toothpaste residue that can scratch the plastic surface.
Your 2-minute cleaning process
Follow this exact sequence every time you remove your retainer:
Morning and evening routine:
- Rinse immediately under lukewarm water for 10 seconds to wash away loose debris
- Apply one small drop of mild dish soap to your dedicated soft-bristled brush
- Gently brush all surfaces of the retainer for 60 seconds, including the grooves where teeth sit
- Rinse thoroughly under lukewarm water for 30 seconds until all soap residue disappears
- Shake off excess water and pat dry with a clean towel
- Place in your retainer case or back in your mouth
Avoid these common mistakes during daily cleaning: never use toothpaste (it scratches plastic), never rinse with hot water (it warps the retainer), and never skip the drying step (trapped moisture breeds bacteria). This simple routine keeps your retainer fresh and prevents the buildup that leads to odors and discoloration.
Step 2. Deep clean and disinfect each week
Daily brushing removes surface debris, but bacteria hide in microscopic grooves and cracks. Weekly deep cleaning eliminates stubborn buildup that regular brushing misses. This thorough disinfection prevents cloudiness, removes hard water deposits, and kills bacteria that cause odors. Schedule your deep clean on the same day each week to make it automatic. The entire process takes just 15 to 20 minutes and dramatically improves your clear retainer maintenance results.
Choose your weekly cleaning method
Three effective options exist for deep cleaning your retainer. Each method uses different household ingredients to break down plaque and kill bacteria. Pick one method and stick with it for consistent results.
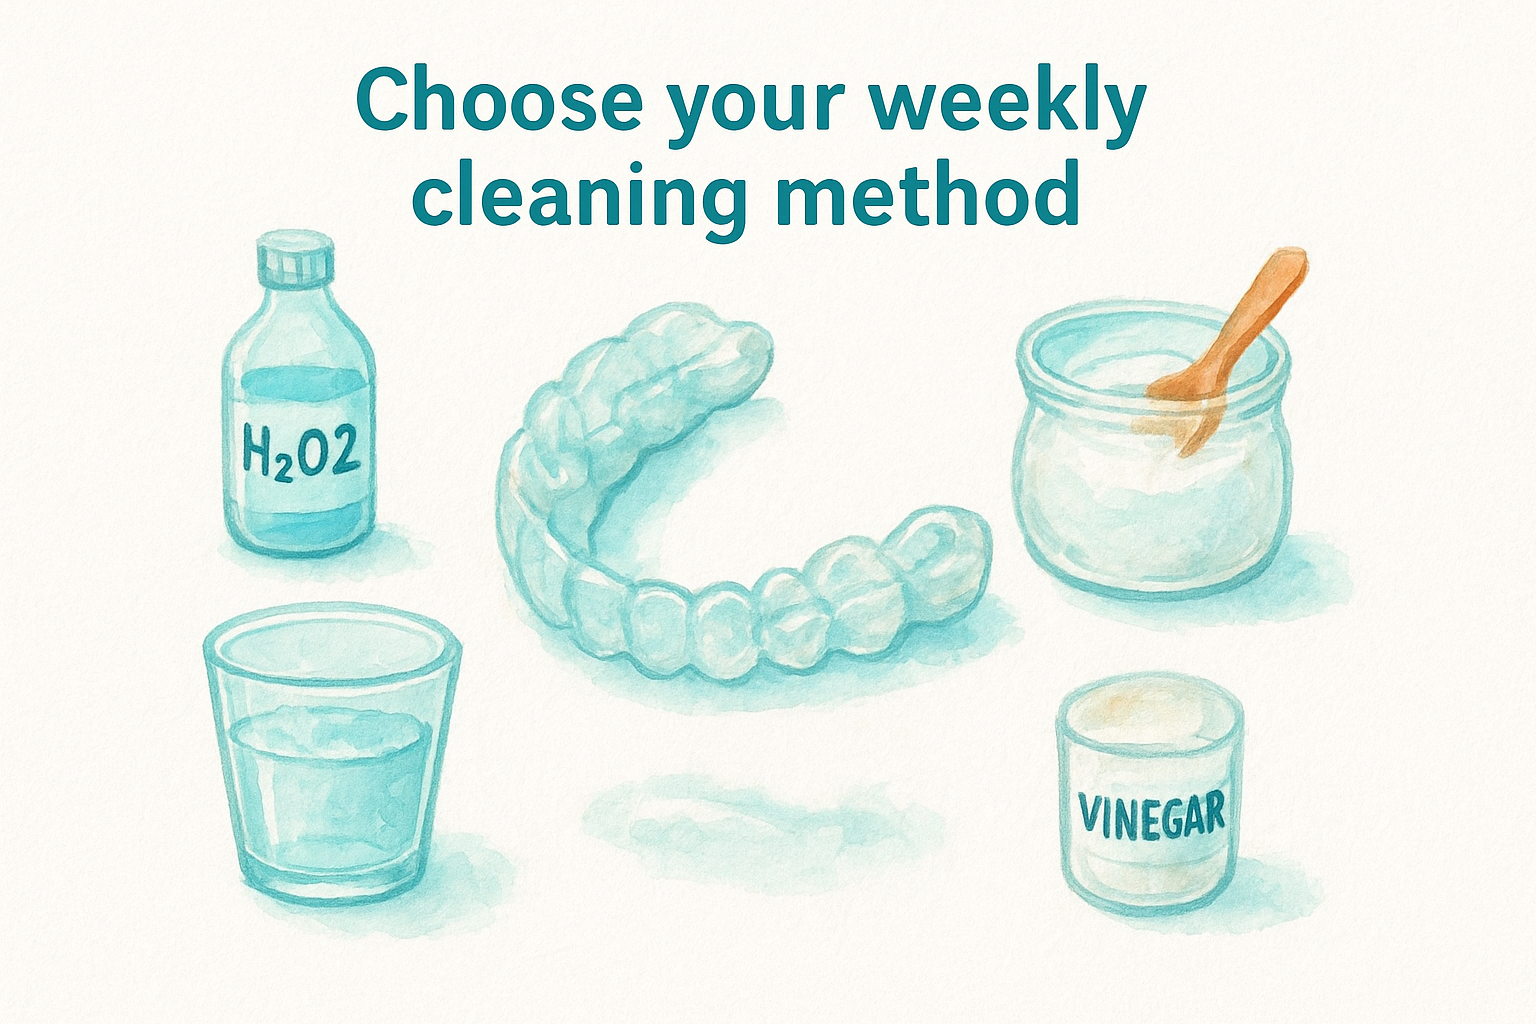
Option 1: Hydrogen peroxide solution
- Mix equal parts 3% hydrogen peroxide and lukewarm water in a small cup
- Submerge retainer completely for 15 minutes
- Rinse thoroughly under lukewarm water
Option 2: White vinegar solution
- Combine equal parts white vinegar and lukewarm water
- Soak retainer for 20 minutes to dissolve calcium deposits
- Rinse thoroughly to remove vinegar taste and smell
Option 3: Baking soda paste
- Mix 2 tablespoons baking soda with enough water to form thick paste
- Gently scrub entire retainer surface with soft brush
- Soak in clean water for 10 minutes, then rinse completely
Never use mouthwash, bleach, or alcohol-based solutions on your retainer, as these substances degrade plastic and cause permanent discoloration.
All three methods deliver excellent results. The hydrogen peroxide option works fastest and provides the strongest antibacterial effect. Choose based on what you have available at home.
Step 3. Store and handle your retainer safely
Proper storage protects your retainer from damage, contamination, and bacterial growth. Your retainer needs a clean, safe environment when it's not in your mouth. Many people focus on cleaning but ignore storage habits that cause expensive problems. The way you handle and store your retainer directly impacts its longevity and effectiveness. Small changes in your storage routine prevent warping, cracking, and contamination that compromise your clear retainer maintenance efforts.
Keep your retainer in its case always
Your retainer belongs in its protective case every single time you remove it from your mouth. Never wrap it in tissue, napkins, or paper towels because these get thrown away by accident. Never leave it exposed on countertops, tables, or nightstands where bacteria accumulate and pets find it. A proper case shields your retainer from dust, germs, and physical damage while allowing slight airflow.
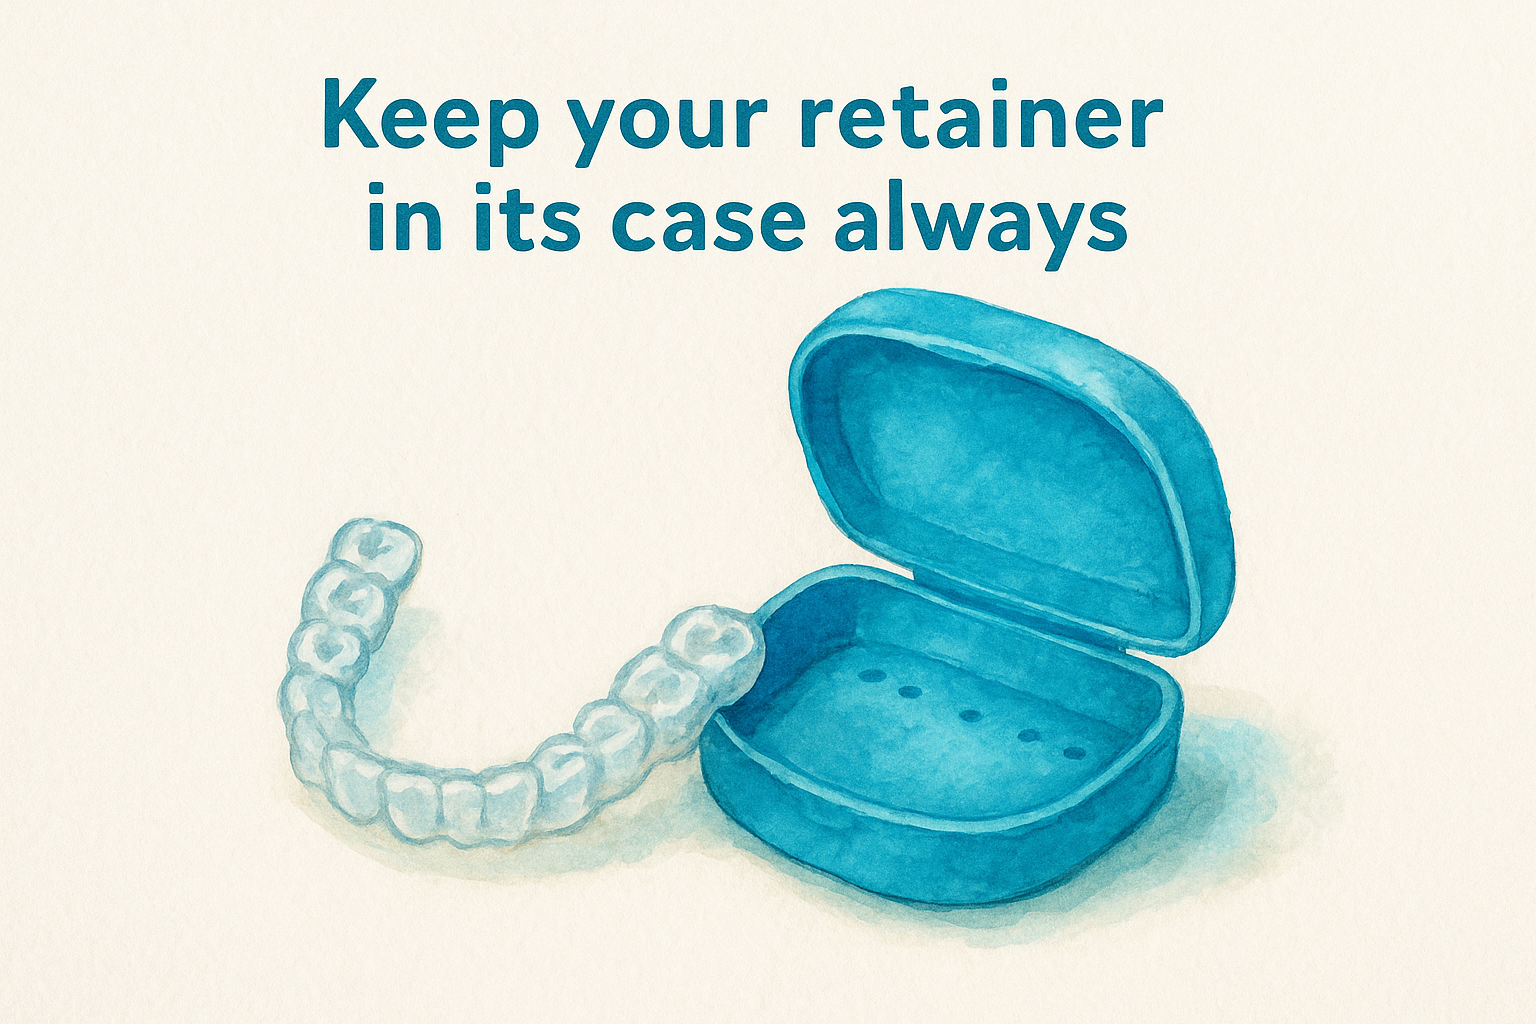
Cases with ventilation holes prevent moisture buildup that creates perfect conditions for bacterial growth.
Replace your retainer case every three to six months or immediately if you notice cracks, discoloration, or persistent odors. Wash the case weekly with mild soap and warm water, then air dry completely before storing your retainer inside.
Handle with clean hands only
Always wash your hands thoroughly with soap before touching your retainer. Dirty fingers transfer bacteria directly onto the surface that goes into your mouth. Use your fingertips rather than nails to avoid scratching the plastic. Hold the retainer gently by the edges when inserting or removing it to prevent bending or stress cracks. Never force a tight retainer because aggressive handling causes permanent warping.
Step 4. Solve common problems and mistakes
Even with consistent clear retainer maintenance, you might encounter issues that require specific fixes. Recognizing these common problems early prevents permanent damage and keeps your retainer working properly. Most issues stem from improper cleaning techniques or environmental factors you can control. Understanding the cause helps you apply the right solution immediately rather than waiting until the problem worsens.
Fix cloudiness and stubborn stains
Cloudy or discolored retainers develop from hard water minerals, plaque buildup, or toothpaste scratches. The cloudiness makes your retainer noticeable and indicates bacterial accumulation. Remove this film by soaking your retainer in a white vinegar solution (50/50 with water) for 30 minutes once per week. For stubborn stains from coffee or tea, create a paste using baking soda and water, then gently scrub with your soft brush.
Scratches from toothpaste or abrasive cleaners trap bacteria permanently and cannot be reversed.
Prevent future cloudiness by switching to mild dish soap only for daily cleaning and ensuring you rinse thoroughly after every soak. Never use whitening toothpaste or harsh chemicals that etch the plastic surface.
Eliminate persistent odor
Retainers that smell bad even after cleaning harbor bacteria in microscopic cracks or haven't been dried properly before storage. The odor signals active bacterial growth that regular brushing misses. Soak your retainer in 3% hydrogen peroxide solution (equal parts with water) for 20 minutes to kill odor-causing bacteria deep within the material. Rinse thoroughly afterward.
Always shake off excess water and air dry your retainer completely for five minutes before placing it in your case. Moisture trapped in a closed case creates the perfect environment for bacteria multiplication and persistent odors.

Keep your retainers in great shape
Your clear retainer maintenance routine determines how long your retainer lasts and how well it protects your smile. The steps in this guide take just minutes each day but deliver years of reliable performance. Daily cleaning, weekly deep disinfection, proper storage, and quick problem-solving keep your retainer fresh, clear, and effective. You now have everything you need to maintain your retainer like a professional. If your retainer shows signs of damage or you need a replacement, order custom clear retainers that arrive at your door in days. Your consistent effort today prevents expensive replacements tomorrow.

