

At Home Dental Impression Kit: How To Choose, Use, and Save
Getting a custom night guard or retainer from your dentist can cost hundreds of dollars and require multiple appointments. You sit in the waiting room. You schedule time off work. You pay the bill and wonder why something so simple has to be so complicated and expensive.
At home dental impression kits change that equation. These kits let you create accurate molds of your teeth from your couch, mail them to a lab, and get custom fitted dental products delivered to your door. You save money and skip the dental office completely.
This guide walks you through everything you need to know about at home impression kits. You'll learn what these kits include, how to decide if they're right for you, how to choose between providers, and the exact steps to take perfect impressions. We'll also show you where the real savings are and how to avoid wasting money on the wrong products.
What an at home dental impression kit is
An at home dental impression kit contains everything you need to create molds of your upper and lower teeth without visiting a dentist. The kit arrives at your door with impression trays, dental putty, and instructions that guide you through the molding process in about 15 minutes.
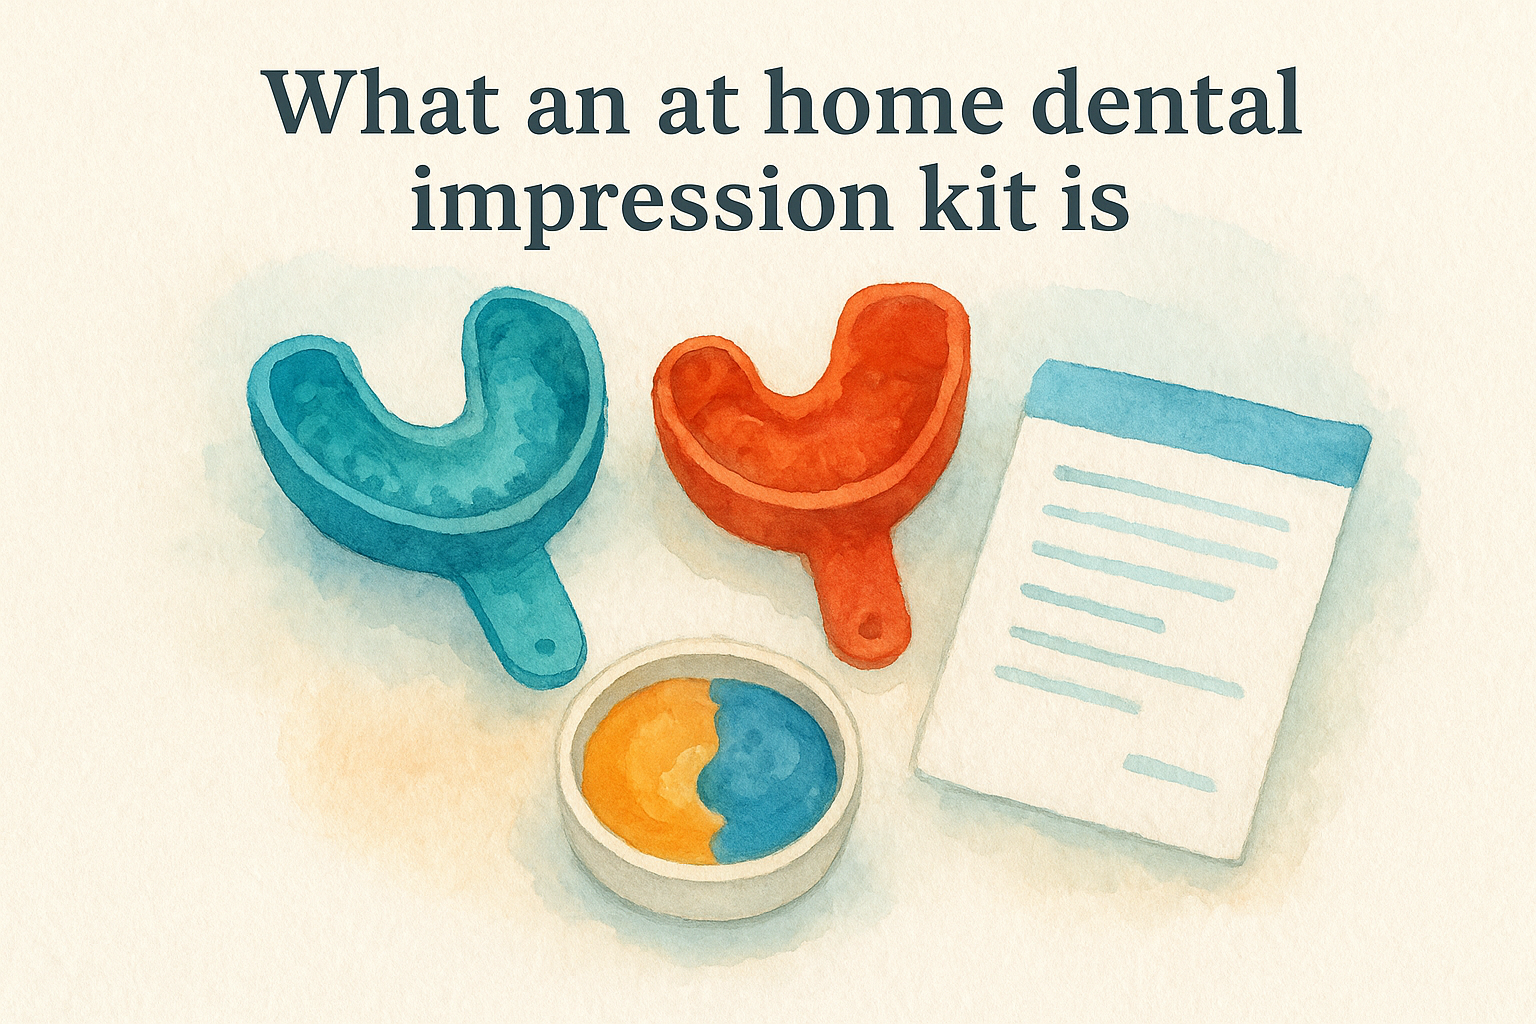
The basic components
You'll find moldable putty (usually two different colors that you mix together) and plastic trays sized to fit your mouth. Most kits include multiple sets of materials so you can redo an impression if your first attempt doesn't turn out right. The putty stays soft for a few minutes after mixing, giving you enough time to press it against your teeth and capture every detail.
The impression putty captures the exact shape of your teeth, gum line, and bite pattern so a lab can create custom fitted products.
Companies include prepaid return packaging with each kit. After you complete your impressions, you mail them back to the company's dental lab. Technicians use your molds to fabricate custom night guards, retainers, or whitening trays that match your teeth precisely. The entire process takes three to four weeks from the day you order to the day your finished product arrives.
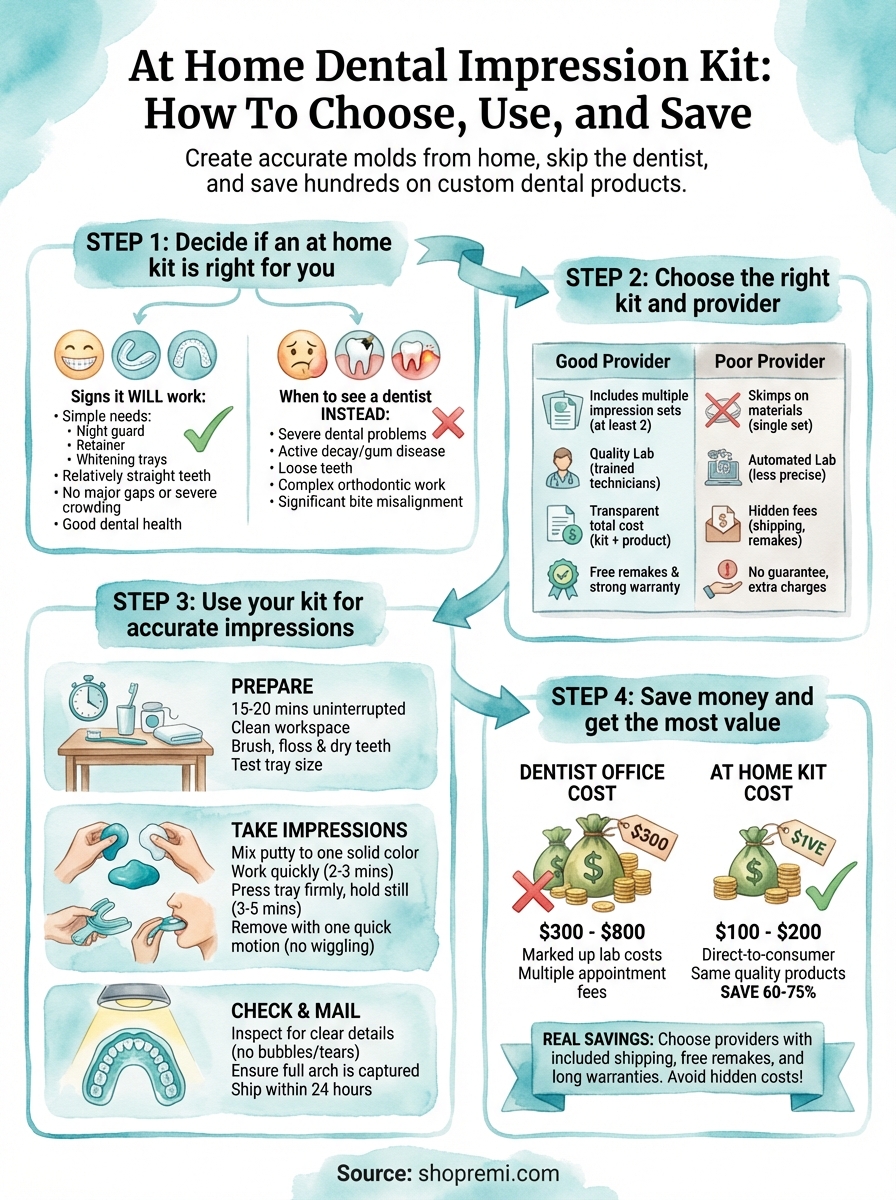
Step 1. Decide if an at home kit is right for you
Not everyone should use an at home dental impression kit. These kits work best for specific dental needs and certain types of teeth conditions. Understanding your situation helps you avoid wasting time and money on a product that won't solve your problem.
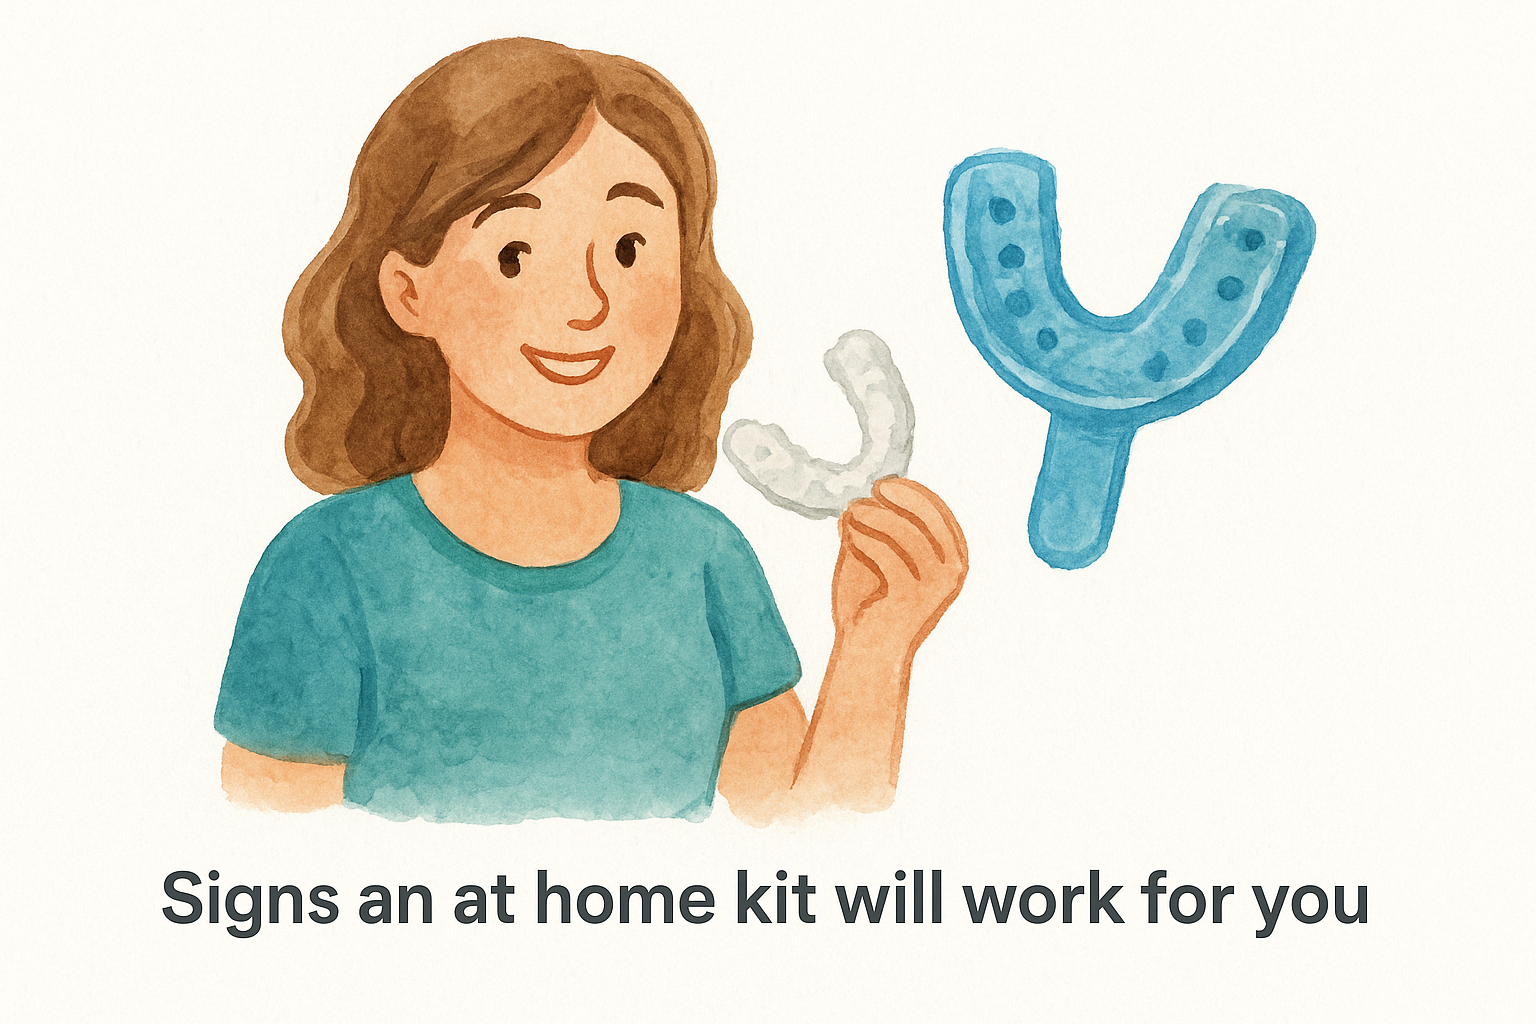
Signs an at home kit will work for you
You're a good candidate if you need a night guard for grinding, a retainer to maintain straight teeth, or custom whitening trays. Your teeth should be relatively straight with no major gaps or severe crowding. Most people with normal dental health can successfully create impressions at home and get products that fit comfortably.
Check these conditions before ordering:
- You have most of your natural teeth intact
- Your teeth don't have excessive crowding or rotation
- You're not experiencing active dental pain or gum disease
- You can follow detailed instructions without supervision
- You need a straightforward dental appliance, not complex orthodontic work
When to see a dentist instead
Skip the at home dental impression kit if you have severe dental problems or complex needs. Active tooth decay, gum infections, loose teeth, or significant bite misalignment require professional evaluation. A dentist needs to examine these conditions in person before recommending any treatment.
If you're unsure about your dental health, schedule a checkup first. Your dentist can confirm whether an at home kit makes sense for your specific situation.
Step 2. Choose the right kit and provider
Not all at home dental impression kits deliver the same quality or value. Some companies cut corners on materials, rush through production, or charge hidden fees that turn a bargain into an expensive mistake. You need to compare providers carefully and look beyond the upfront price before placing your order.
Compare what's included
Your kit should contain at least two full sets of impression materials so you can redo any impressions that don't turn out right. Check that the package includes upper and lower trays in multiple sizes, detailed instructions with photos or video links, and prepaid return shipping. Companies that skip these basics force you to buy replacement materials or pay shipping costs later.
Look for kits with putty that sets in three to five minutes. Faster setting times make the impression process less uncomfortable, and slower times give you more room for error. The best providers include a customer service contact where you can send photos of your impressions for approval before mailing them back.
Evaluate the lab quality
The lab that creates your final product matters more than the impression kit itself. Research whether the company uses dental technicians or automated systems to fabricate your guard or retainer. Labs staffed by trained professionals produce better fitting products than fully automated facilities.
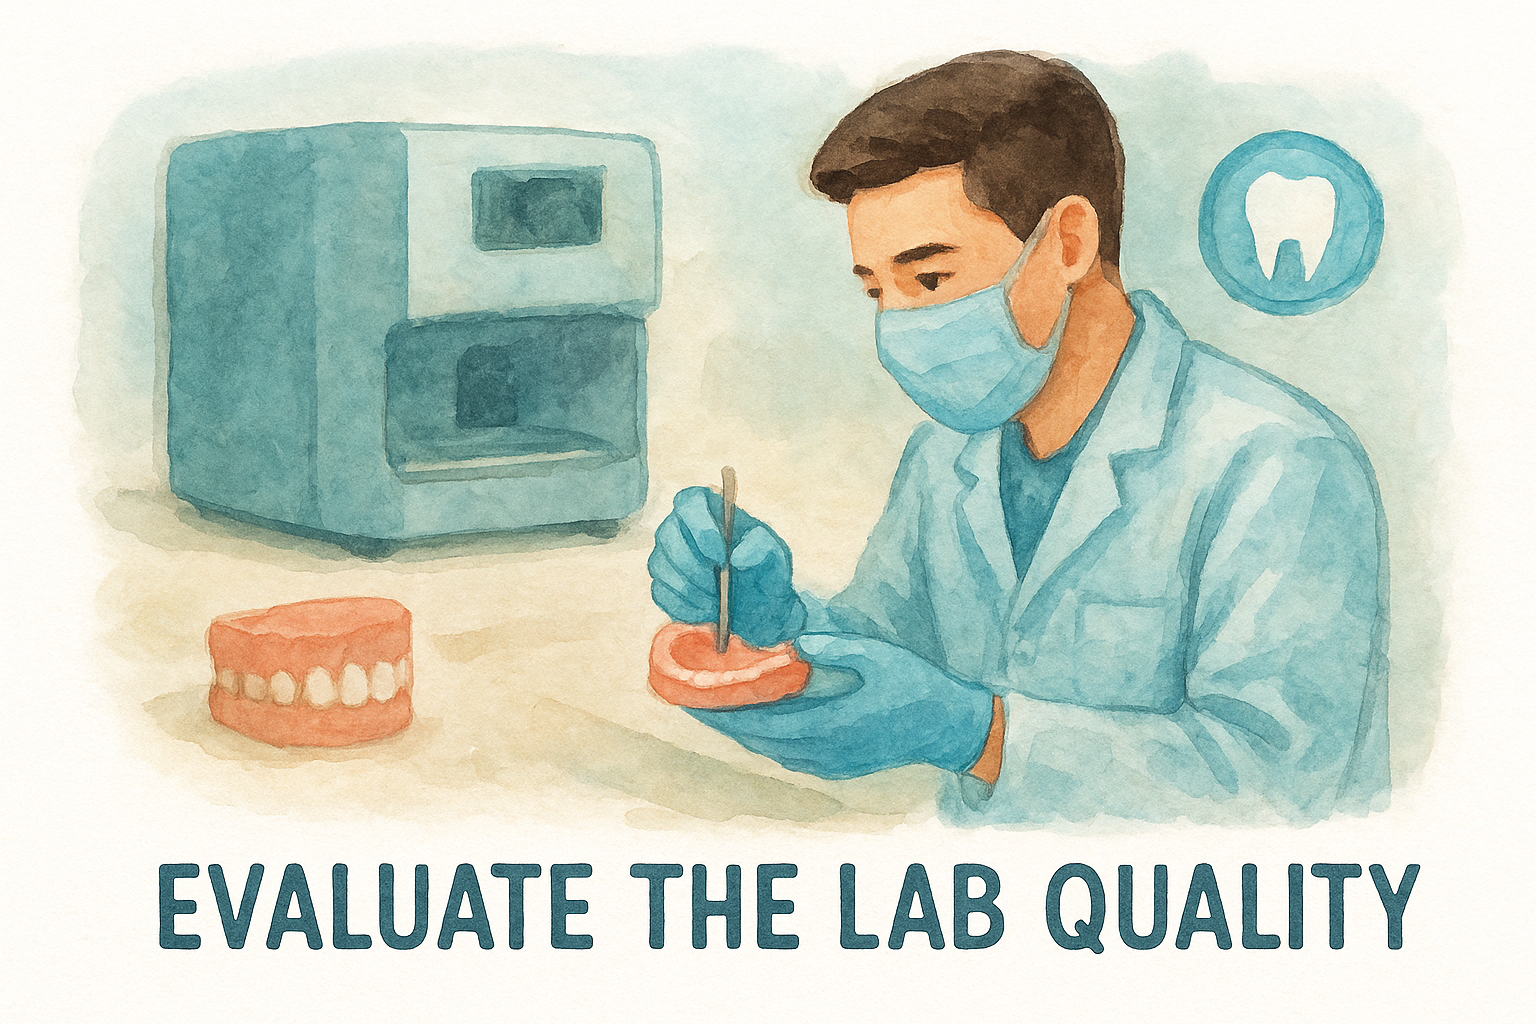
Companies that show you their lab credentials, turnaround times, and remake policies usually deliver higher quality products.
Check the total cost
Add up the kit price, product cost, and any additional fees before you commit. Some providers charge separately for the impression kit and the finished product, while others bundle everything into one price. Factor in remake policies and warranty coverage. Paying slightly more upfront for unlimited remakes often saves money compared to cheap kits with no guarantees.
Step 3. Use your kit for accurate impressions
Taking accurate impressions determines whether your final product fits comfortably or sits in a drawer unused. Most failures happen because people rush through the process or skip preparation steps. You need 15 to 20 minutes of uninterrupted time and a clean, well-lit workspace to create impressions that capture every detail of your teeth.
Prepare your workspace and materials
Set up everything before you mix the putty because the material starts setting immediately. Place your impression trays, putty tubes, instructions, and a timer on a clean table. Brush and floss your teeth thoroughly to remove any food particles that could create gaps in your impressions. Rinse your mouth with water and dry your teeth with a clean towel.
Test the tray size by placing each one in your mouth without putty. The tray should cover all your teeth without poking your gums or extending past your last molars. Trim any excess plastic if the instructions allow it. Having the right tray size prevents gagging and ensures the putty reaches every tooth surface.
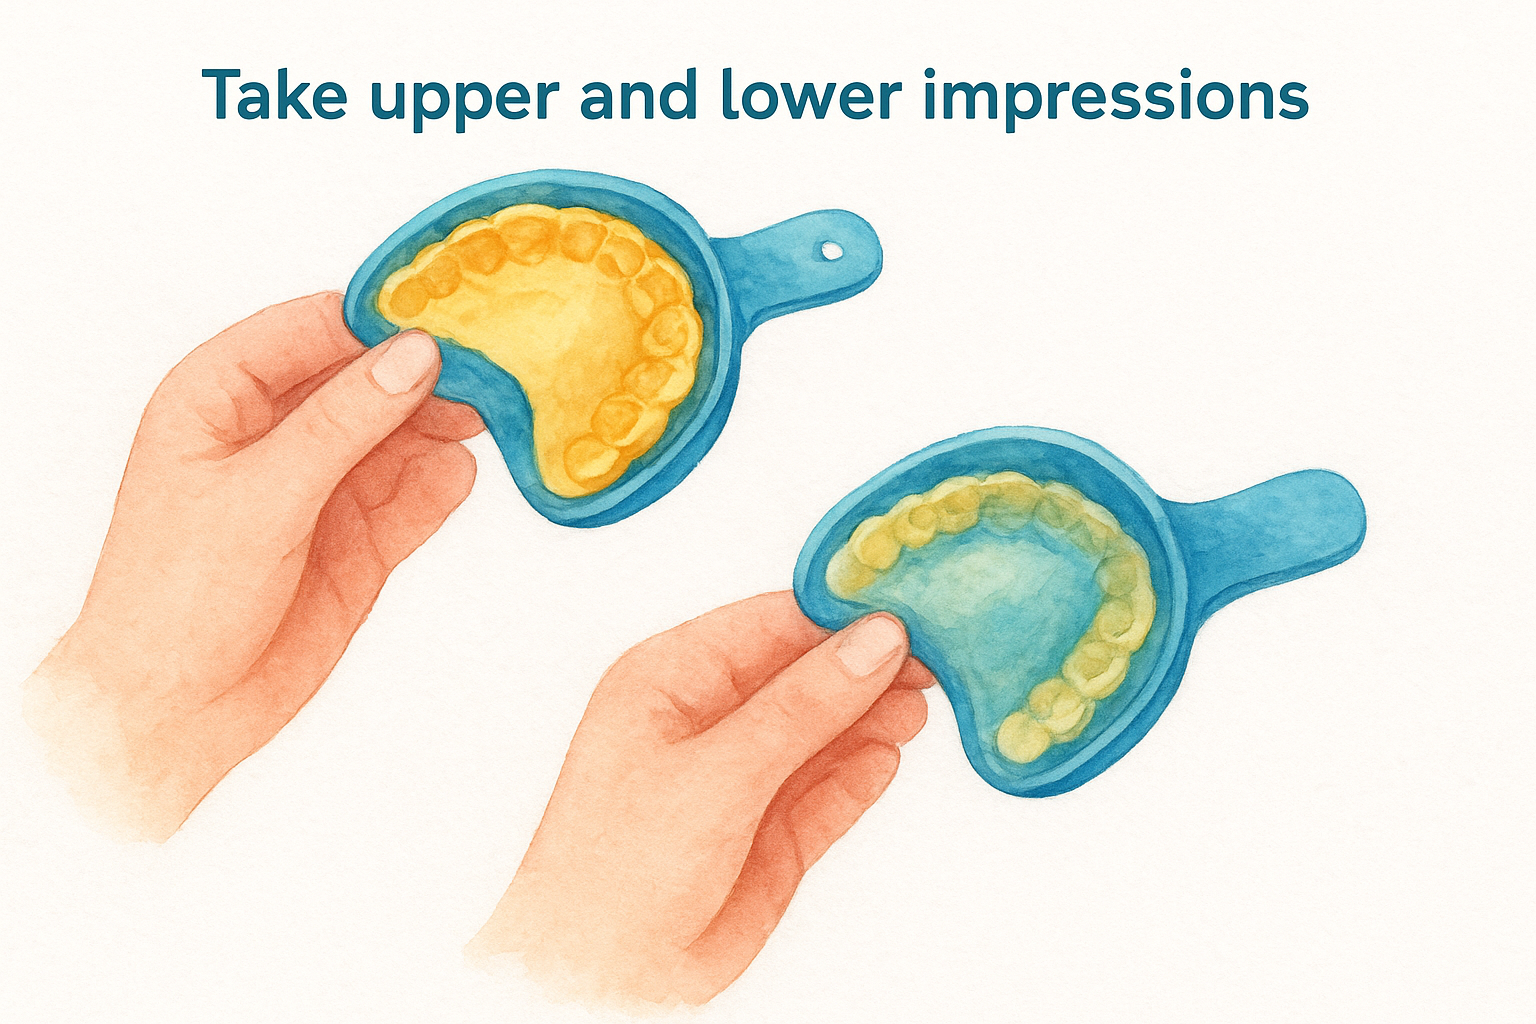
Take upper and lower impressions
Mix the two putty colors together until you see one solid color with no streaks. Roll the putty into a thick rope and press it evenly into the impression tray. Work quickly because most putties give you only two to three minutes before they start hardening.
Follow these steps for each impression:
- Insert the loaded tray into your mouth and center it over your teeth
- Press the tray firmly against your teeth using your thumbs (upper) or fingers (lower)
- Push the putty up to your gum line by applying steady pressure for 10 seconds
- Hold the tray perfectly still for three to five minutes until the putty firms up
- Remove the tray with one quick downward (upper) or upward (lower) motion
Never wiggle or twist the tray while removing it, or you'll distort the impression and need to start over.
Check and mail your impressions
Inspect each impression under bright light. You should see clear tooth shapes, gum lines, and bite surfaces with no air bubbles or torn areas. The impressions should show your full arch of teeth without any teeth cut off at the edges. Package your approved impressions in the return box and ship them within 24 hours to prevent distortion.
Step 4. Save money and get the most value
An at home dental impression kit saves you money only if you avoid common pricing traps and maximize the product's lifespan. The sticker price looks attractive, but the real savings come from choosing providers with included shipping, free remakes, and long warranties. You need to calculate total cost of ownership, not just the initial purchase.
Compare direct-to-consumer prices
Dentist offices charge $300 to $800 for custom night guards and $200 to $500 for retainers because they mark up lab costs and add appointment fees. Direct-to-consumer companies like Remi eliminate those markups by shipping impression kits straight to you. You pay $100 to $200 for the same quality products, cutting costs by 60 to 75 percent.
The biggest savings come from skipping the dental office entirely, not from choosing the cheapest kit available.
Watch for hidden costs
Check if your provider charges separately for the impression kit, final product, and shipping. Some companies advertise low prices but add fees at checkout. Read the remake policy carefully because products that don't fit right should be remade free of charge. Avoid providers that charge for customer service calls or impression reviews, as these fees eliminate your savings.
Key takeaways
An at home dental impression kit saves you hundreds of dollars and eliminates multiple dental appointments while delivering the same custom-fitted products you'd get from a dentist's office. Choose a provider that includes multiple impression sets, prepaid return shipping, and free remakes to avoid hidden costs that erode your savings. Take your time during the impression process, follow the instructions precisely, and check your work under bright light before mailing.
The real value comes from combining quality materials with proper technique and selecting companies that stand behind their products with strong warranties. Ready to get started? Order your custom night guard from Remi and experience professional-grade dental protection at a fraction of the dentist's cost.

