

That white, crusty buildup on your retainer isn't just unsightly, it's plaque that can harbor bacteria and affect your oral health. Learning how to remove plaque from retainers safely is essential for anyone who wears these dental appliances daily. Without proper cleaning, you risk bad breath, discoloration, and potential damage to the retainer itself.
The good news? You don't need expensive professional cleanings or harsh chemicals to restore your retainer to its original clarity. Most effective cleaning methods use simple household items or specialized products designed for dental appliances. The key is knowing which techniques actually work, and which ones could warp, scratch, or ruin your retainer permanently.
In this guide, we'll walk you through proven cleaning methods that protect your investment while keeping your retainer fresh and hygienic. At Remi, we craft custom retainers designed for comfort and durability, so we understand that proper maintenance habits can extend their lifespan by months or even years. Whether you're battling stubborn tartar or everyday film, you'll find a solution here that fits your routine.
What plaque looks like and why it builds up
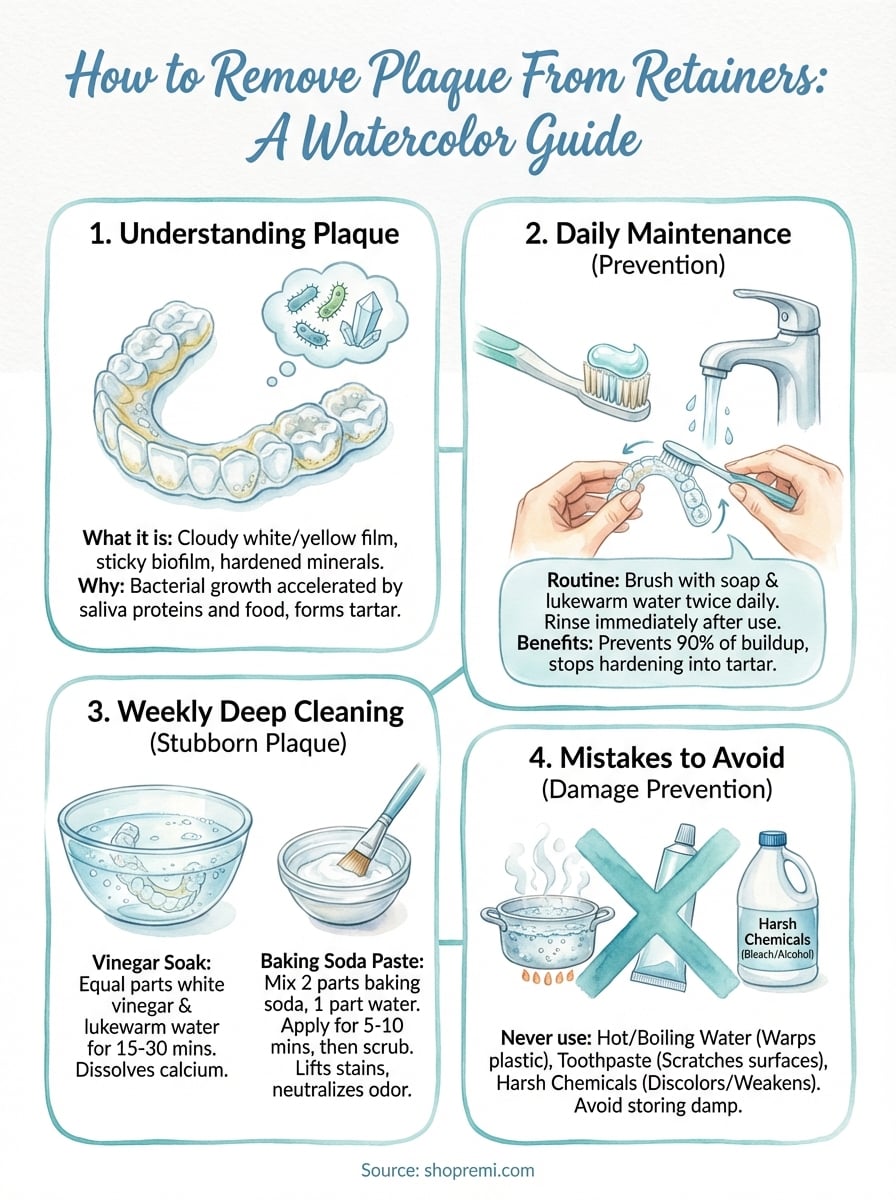
Plaque on your retainer appears as a cloudy white or yellowish film that coats the plastic surface, especially around the edges and crevices. Fresh plaque feels soft and slightly sticky to the touch, but when you leave it untreated for days or weeks, it hardens into crusty white deposits that resist normal rinsing. You might also notice brown or yellow stains that develop over time, particularly if you drink coffee, tea, or wear your retainer while eating.
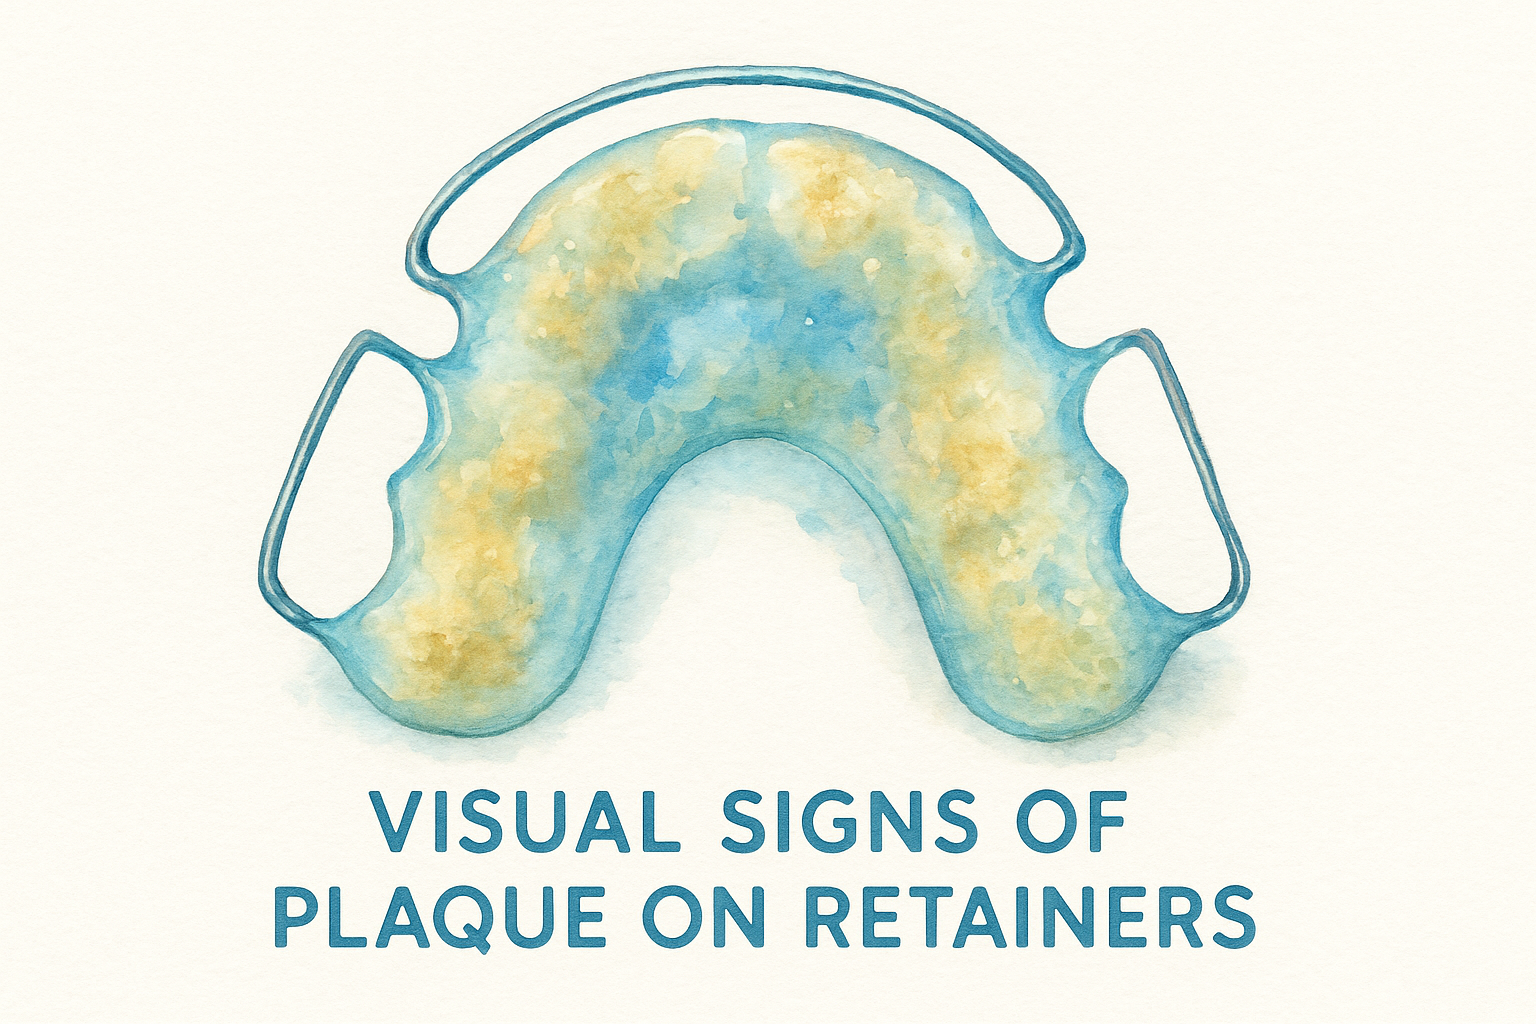
Visual signs of plaque on retainers
Your retainer shows several telltale symptoms when plaque has taken hold. Cloudiness or haziness replaces the original transparent clarity, making it difficult to see through the plastic. White spots or patches form where saliva minerals have crystallized, and you may detect a sour or unpleasant odor even after rinsing with water. The texture shifts from smooth to rough or bumpy, and stubborn buildup often concentrates near the wire components or along the gum line impression.
Understanding what you're actually cleaning helps you choose the right method for how to remove plaque from retainers without causing damage.
Why plaque accumulates on dental appliances
Bacteria in your mouth produce a sticky biofilm within hours of wearing your retainer, combining with proteins from saliva and food particles. This biofilm clings to any surface it touches, and the warm, moist environment inside your mouth accelerates bacterial growth throughout the day. Calcium and other minerals in your saliva then deposit onto this bacterial layer, gradually hardening into tartar that ordinary brushing cannot remove. Skipping even one night of cleaning allows plaque to establish a stronger foothold, which explains why consistent daily maintenance prevents most buildup issues. Your eating habits, oral hygiene routine, and natural saliva composition all influence how quickly plaque forms on your retainer surfaces.
Step 1. Gather supplies and check your retainer
Before you start learning how to remove plaque from retainers, you need to assemble your cleaning materials and examine your retainer's current condition. This preparation step takes only a few minutes but prevents costly mistakes that could warp or crack your dental appliance. Rushing into cleaning without the right supplies often leads to frustration or damage, so invest this time upfront to protect your retainer.
What you need for basic cleaning
Your cleaning kit should include gentle dish soap or clear hand soap without added moisturizers, a soft-bristled toothbrush dedicated solely to retainer cleaning, and lukewarm water. For deeper cleaning sessions, you'll want white vinegar, baking soda, or hydrogen peroxide (3% solution). Keep a clean glass or bowl handy for soaking, and designate a fresh microfiber cloth for drying. These everyday household items handle most plaque situations effectively without requiring specialty products.
Having the right supplies ready before you begin saves time and ensures you complete the full cleaning process without interruption.
Inspect your retainer for damage
Hold your retainer up to bright light and check for cracks, warping, or loose wires before applying any cleaning solution. Damaged retainers can worsen during the cleaning process, especially if you use heat or harsh scrubbing motions. Look closely at the plastic edges and wire connection points where stress fractures typically develop first. Contact your dentist if you spot significant damage, as cleaning won't fix structural issues that compromise the retainer's fit or effectiveness.
Step 2. Remove daily plaque safely with soap and brushing
Daily maintenance keeps plaque from hardening into stubborn tartar, and this routine takes less than five minutes each morning and night. Knowing how to remove plaque from retainers through consistent brushing prevents 90% of buildup issues that require intensive cleaning later. Soap and water remain your first line of defense against bacterial film, so make this step non-negotiable in your oral hygiene routine.
The basic daily cleaning method
Start by rinsing your retainer under lukewarm running water to remove loose debris and saliva. Apply one or two drops of clear dish soap or hand soap directly onto your soft-bristled toothbrush, then gently brush all surfaces of the retainer using small circular motions. Focus extra attention on the grooves where teeth impressions sit, the wire areas, and any textured portions where plaque hides. Rinse thoroughly under lukewarm water for at least 30 seconds, ensuring no soap residue remains before placing the retainer back in your mouth.
Daily soap and brush cleaning stops plaque before it calcifies into the white crusty deposits that require intensive treatment.
Tips for effective yet gentle scrubbing
Apply light to moderate pressure when brushing, never pressing hard enough to flex or bend the plastic material. Angle your toothbrush bristles at 45 degrees to reach into crevices without scratching flat surfaces, and use short back-and-forth strokes along wire components. Avoid hot water completely, as temperatures above 100°F can warp your retainer permanently and compromise its fit.
Step 3. Deep clean white buildup, tartar, and stains
When daily brushing no longer cuts through hardened deposits, you need stronger solutions that dissolve mineral buildup without harming your retainer's plastic material. These deep cleaning methods for how to remove plaque from retainers should happen once or twice weekly, depending on how quickly tartar accumulates on your specific appliance. The techniques below target stubborn white crust and yellow stains that regular soap cannot eliminate.
Vinegar soak method
Mix equal parts white vinegar and lukewarm water in a glass bowl, then submerge your retainer completely for 15 to 30 minutes. The acetic acid in vinegar dissolves calcium deposits and breaks down bacterial biofilm without scratching the plastic surface. After soaking, use your soft-bristled brush to gently scrub loosened plaque away, then rinse thoroughly under running water for at least one minute. You'll notice the cloudiness lifting and stubborn white spots disappearing after this treatment.
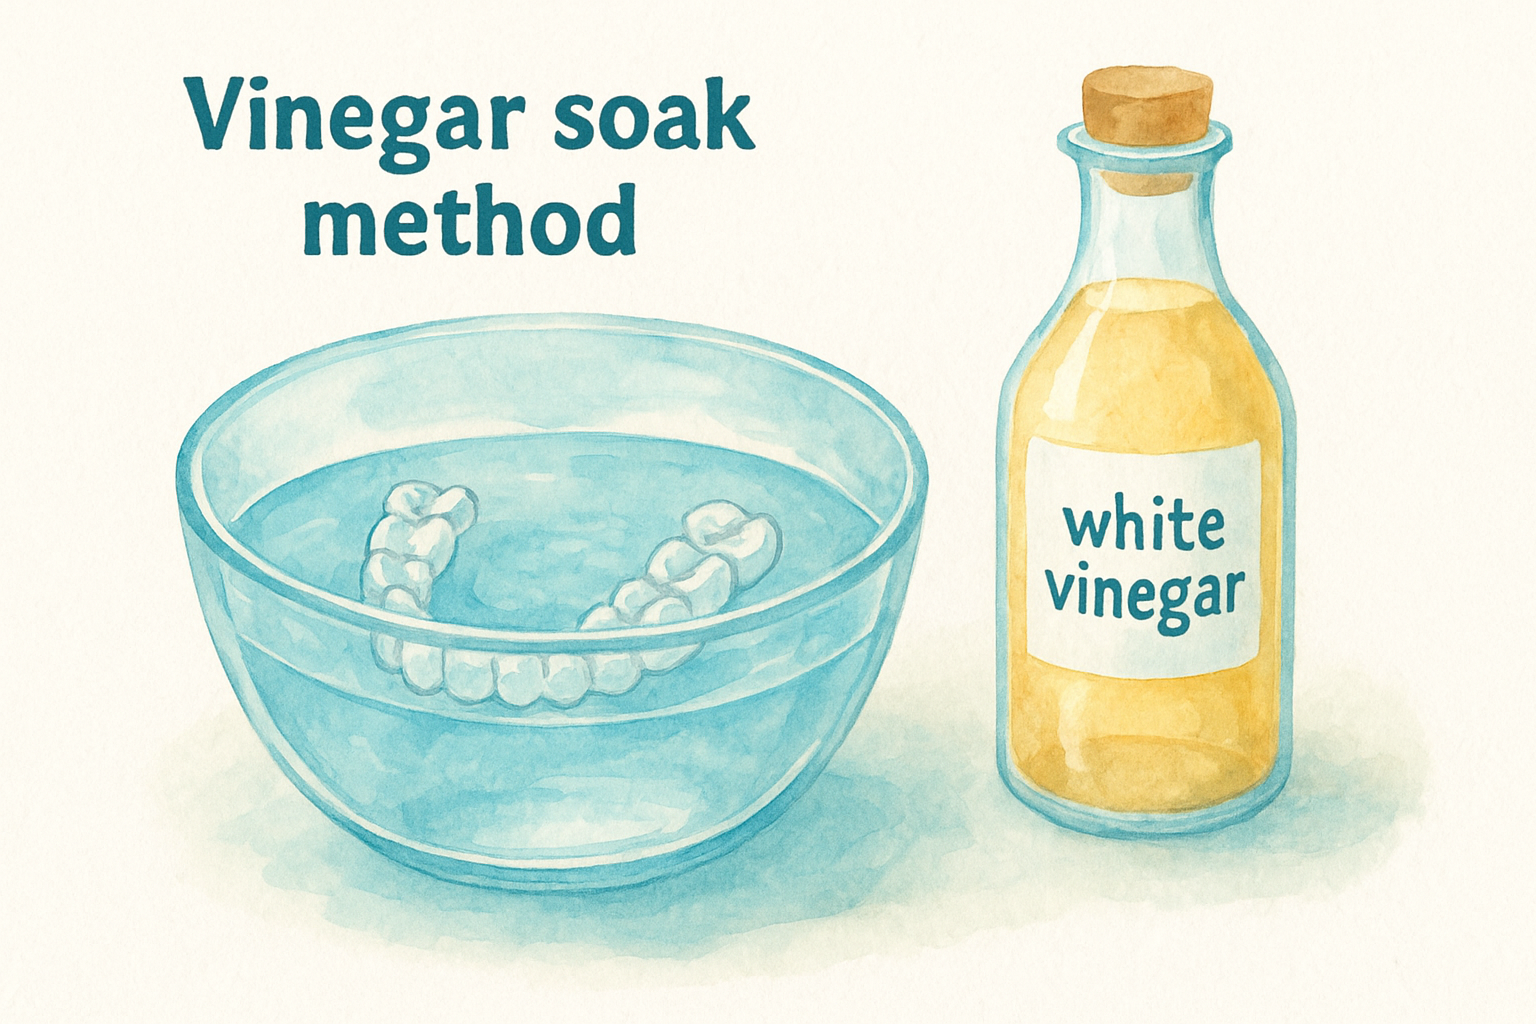
Vinegar's natural acidity tackles mineral buildup that soap alone cannot penetrate, making it ideal for weekly deep cleaning sessions.
Baking soda paste technique
Create a paste by mixing two parts baking soda with one part water until you achieve a toothpaste-like consistency. Apply this paste directly onto visible plaque areas using your fingertip or toothbrush, then let it sit for 5 to 10 minutes before gentle scrubbing. The mild abrasive properties lift stains while the alkaline nature neutralizes odor-causing bacteria. Rinse completely and check that no white residue remains before storing your retainer.
Step 4. Prevent plaque and avoid common mistakes
Prevention beats intensive cleaning every time, and understanding how to remove plaque from retainers starts with stopping buildup before it hardens. Your daily habits directly impact how often you'll need deep cleaning sessions, so establishing the right routine now saves hours of scrubbing later. Small consistent actions prevent 80% of plaque problems that retainer wearers face, while avoiding common cleaning mistakes protects your appliance from permanent damage.
Daily habits that stop plaque formation
Rinse your retainer immediately after removing it, using lukewarm water to flush away fresh saliva and food particles before they dry and stick. Store your retainer in a ventilated case, never wrapped in tissue or napkins where bacteria thrive in moisture. Clean your retainer twice daily after brushing your teeth, and avoid wearing it while eating or drinking anything except plain water. These simple habits drastically reduce the bacterial load that creates plaque buildup overnight.
Consistent rinsing and proper storage eliminate the conditions where plaque-causing bacteria multiply fastest.
Cleaning mistakes that damage retainers
Never use hot water, boiling water, or dishwashers on your retainer, as heat warps the plastic and ruins the custom fit permanently. Avoid toothpaste for regular cleaning because the abrasive particles scratch surfaces, creating rough grooves where bacteria colonize more easily. Skip harsh chemicals like bleach, alcohol-based mouthwashes, or denture tablets containing persulfates, which can discolor or weaken plastic materials over time.
Keep your retainer clean long-term
Mastering how to remove plaque from retainers requires consistent daily effort rather than occasional intensive cleaning sessions. Your retainer stays clear and hygienic when you rinse it after every wear, brush it with soap twice daily, and deep clean with vinegar or baking soda once weekly. Set specific reminders on your phone for cleaning times until the routine becomes automatic, and inspect your retainer weekly for early signs of damage or excessive buildup that daily maintenance might miss. Track which methods work best for your specific retainer type and local water hardness level, then stick with that proven combination for long-term success. Building these habits now prevents costly replacements and protects your oral health investment.
For a more advanced cleaning solution that eliminates manual scrubbing entirely, explore Remi's ultrasonic cleaning devices that use high-frequency sound waves to break down plaque and bacteria in minutes without any risk of scratching or damaging your retainer's delicate surfaces.

