
 Guards + Retainers
 Custom Night Guard
 Retainer
 Emergency Order

 Whitening
 Whitening Kit
 Teeth Whitening Gel
 Dual-Action Foam
 Cleaning + Care
 Ultrasonic Cleaner Pro
 Water Flosser
 UV Toothbrush Sanitizer
 Deep Clean + Freshening Tablets
 Accessories
 Guard Removal Tool
 Replacement Nozzles
 Bundles

You wear your night guard every night to protect your teeth from grinding and clenching. But after a few days, it starts feeling grimy and develops a funky smell or cloudy film. You're not imagining it. Bacteria, plaque, and saliva buildup on the surface every time you wear it. The question is what to use to clean your night guard without damaging the material or compromising its fit.
The good news is you don't need expensive specialty products or complicated routines. Simple household items like dish soap, white vinegar, and baking soda work perfectly for daily and weekly cleaning. Combine these with the right techniques, and you'll keep your night guard fresh, clear, and bacteria free. You can also upgrade to commercial cleaning tablets or an ultrasonic cleaner for deeper sanitization.
This guide walks you through three simple cleaning steps that take just minutes each day or week. You'll learn which cleaning agents are safe to use, which ones to avoid, and how to build a maintenance routine that keeps your night guard in top condition for months or years.
Why hygiene matters for your oral health
Your night guard sits in your mouth for six to eight hours every night, collecting bacteria, saliva, plaque, and food particles. This warm, moist environment creates the perfect breeding ground for harmful microorganisms that multiply rapidly. Without proper cleaning, these bacteria colonies grow and spread to your teeth, gums, and tongue. Understanding what to use to clean night guard properly protects you from infections and keeps your mouth healthy.
Bacterial buildup happens fast
Studies show that bacteria start colonizing dental appliances within minutes of contact with your saliva. Within 24 hours, a biofilm forms on the surface of your night guard. This sticky layer contains millions of bacteria that can cause bad breath, tooth decay, and gum inflammation. The longer you wear a dirty night guard, the more bacteria accumulate and transfer back into your mouth each night.
Your night guard also absorbs proteins from your saliva, which break down over time and create unpleasant odors. These organic deposits attract even more bacteria and make the material cloudy or discolored. Regular cleaning removes these deposits before they harden and become difficult to eliminate.
The health risks of a dirty night guard
Wearing an unclean night guard exposes you to oral infections like gingivitis and thrush. Bacteria trapped against your teeth and gums can penetrate soft tissue and cause painful inflammation. You might notice bleeding when you brush, swollen gums, or persistent bad breath that doesn't go away with regular oral hygiene.
A dirty night guard can harbor the same bacteria that cause cavities, gum disease, and oral infections.
Beyond your mouth, these bacteria can affect your overall immune system and respiratory health. Inhaling bacterial particles during sleep potentially triggers sinus infections or worsens existing respiratory conditions. People with weakened immune systems face even greater risks from contaminated dental appliances. Keeping your night guard clean with the right methods protects both your oral and systemic health.
Step 1. Brush daily with soap or foam
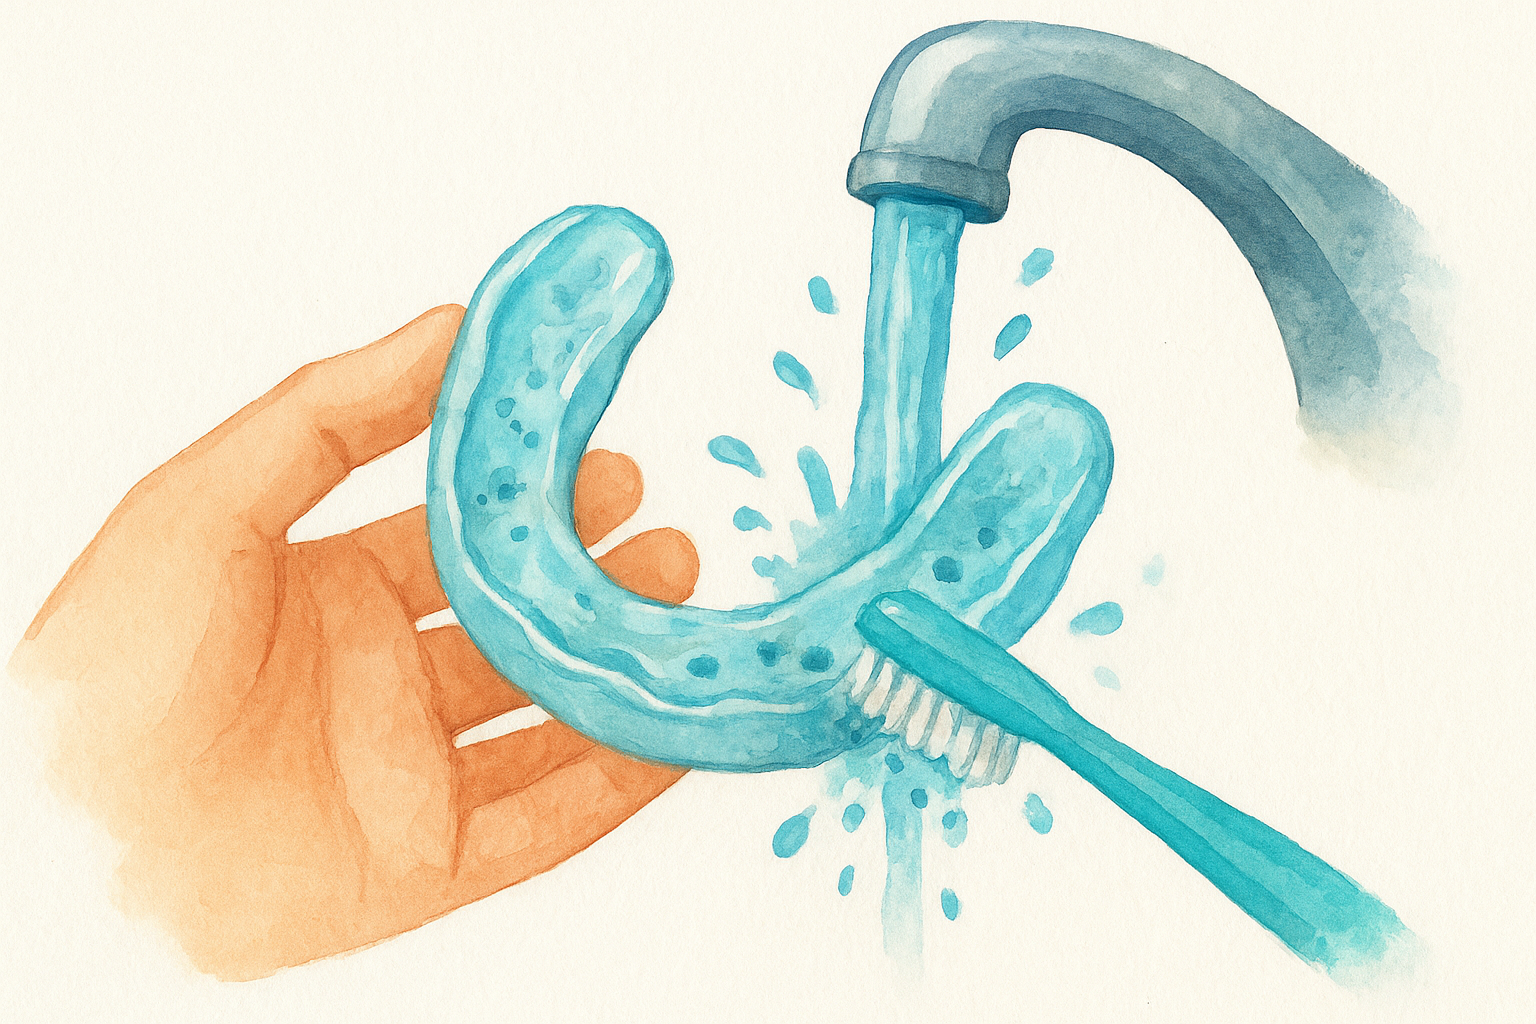
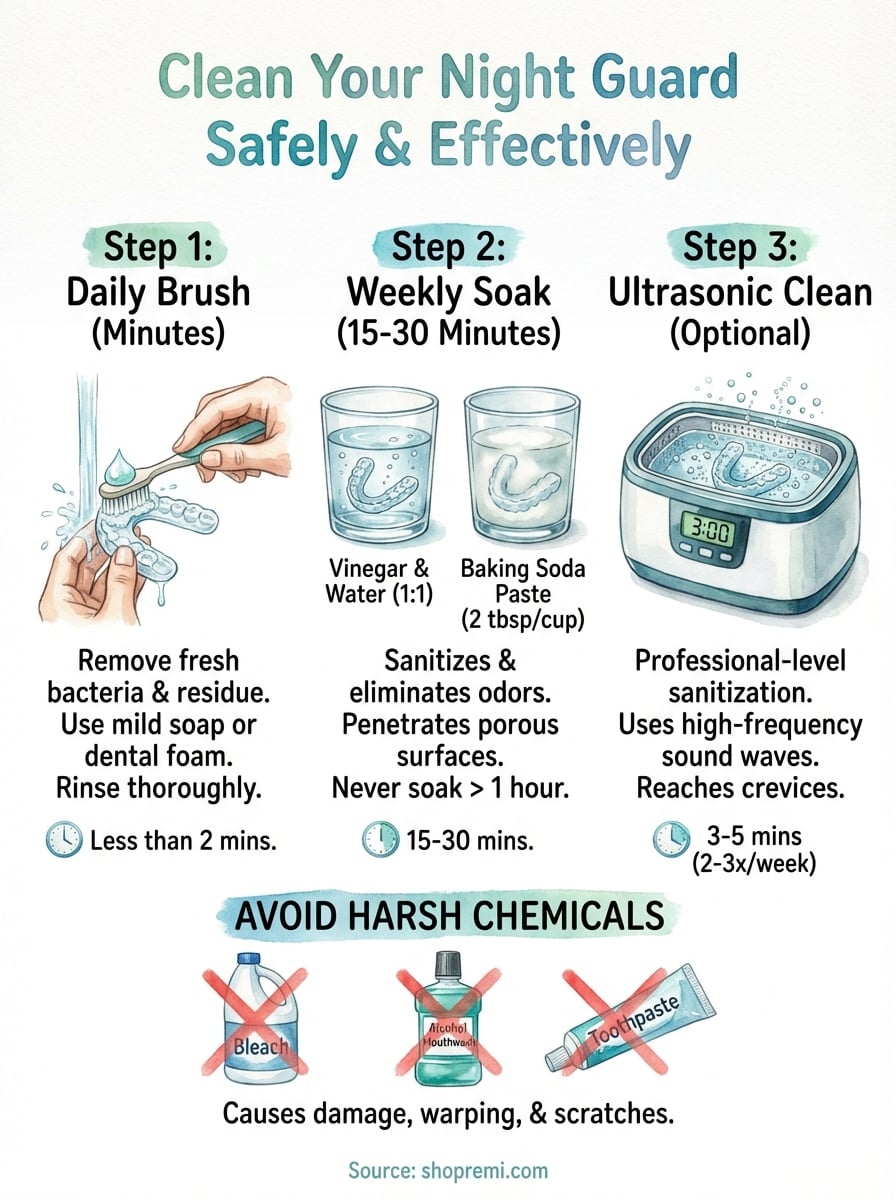
Daily brushing removes fresh bacteria, saliva residue, and plaque before they harden on your night guard's surface. This simple routine takes less than two minutes and prevents most buildup that causes odors and discoloration. When deciding what to use to clean night guard appliances daily, you need something gentle enough to protect the material but strong enough to eliminate bacteria.
What soap or foam to use
Mild dish soap works perfectly for daily cleaning because it cuts through organic residue without harsh chemicals. Choose unscented varieties like Dawn or Palmolive to avoid transferring flavors to your night guard. You can also use specialized cleaning foams designed for dental appliances, which combine antibacterial ingredients with gentle surfactants.
Daily brushing with gentle soap removes bacteria before they form a hardened biofilm on your night guard.
Avoid soaps with moisturizers, fragrances, or antibacterial additives like triclosan. These ingredients can degrade the plastic material over time and leave residue that irritates your mouth. A single drop of plain dish soap provides enough cleaning power for your entire night guard.
The brushing technique
Follow these steps each morning after removing your night guard:
- Rinse the night guard under cool or lukewarm water to remove loose debris
- Apply one drop of mild dish soap to a soft-bristled toothbrush (not the one you use for your teeth)
- Brush all surfaces gently in circular motions for 30 to 60 seconds
- Rinse thoroughly under running water until no soap residue remains
- Pat dry with a clean towel before storing in a ventilated case
This daily routine prevents bacteria accumulation and keeps your night guard fresh between deeper weekly cleanings.
Step 2. Soak weekly for a deep clean
Weekly soaking removes stubborn buildup and bacteria that daily brushing can't reach. This deeper cleaning step sanitizes your night guard by penetrating porous surfaces where microorganisms hide. When evaluating what to use to clean night guard appliances thoroughly, soaking solutions work through chemical reactions that break down proteins, kill bacteria, and lift stains without scrubbing.
Effective soaking solutions
White vinegar and water create the most accessible deep-cleaning solution you already have at home. Mix equal parts distilled white vinegar and lukewarm water in a clean glass or container. The acetic acid in vinegar naturally kills bacteria and dissolves mineral deposits without damaging plastic materials.
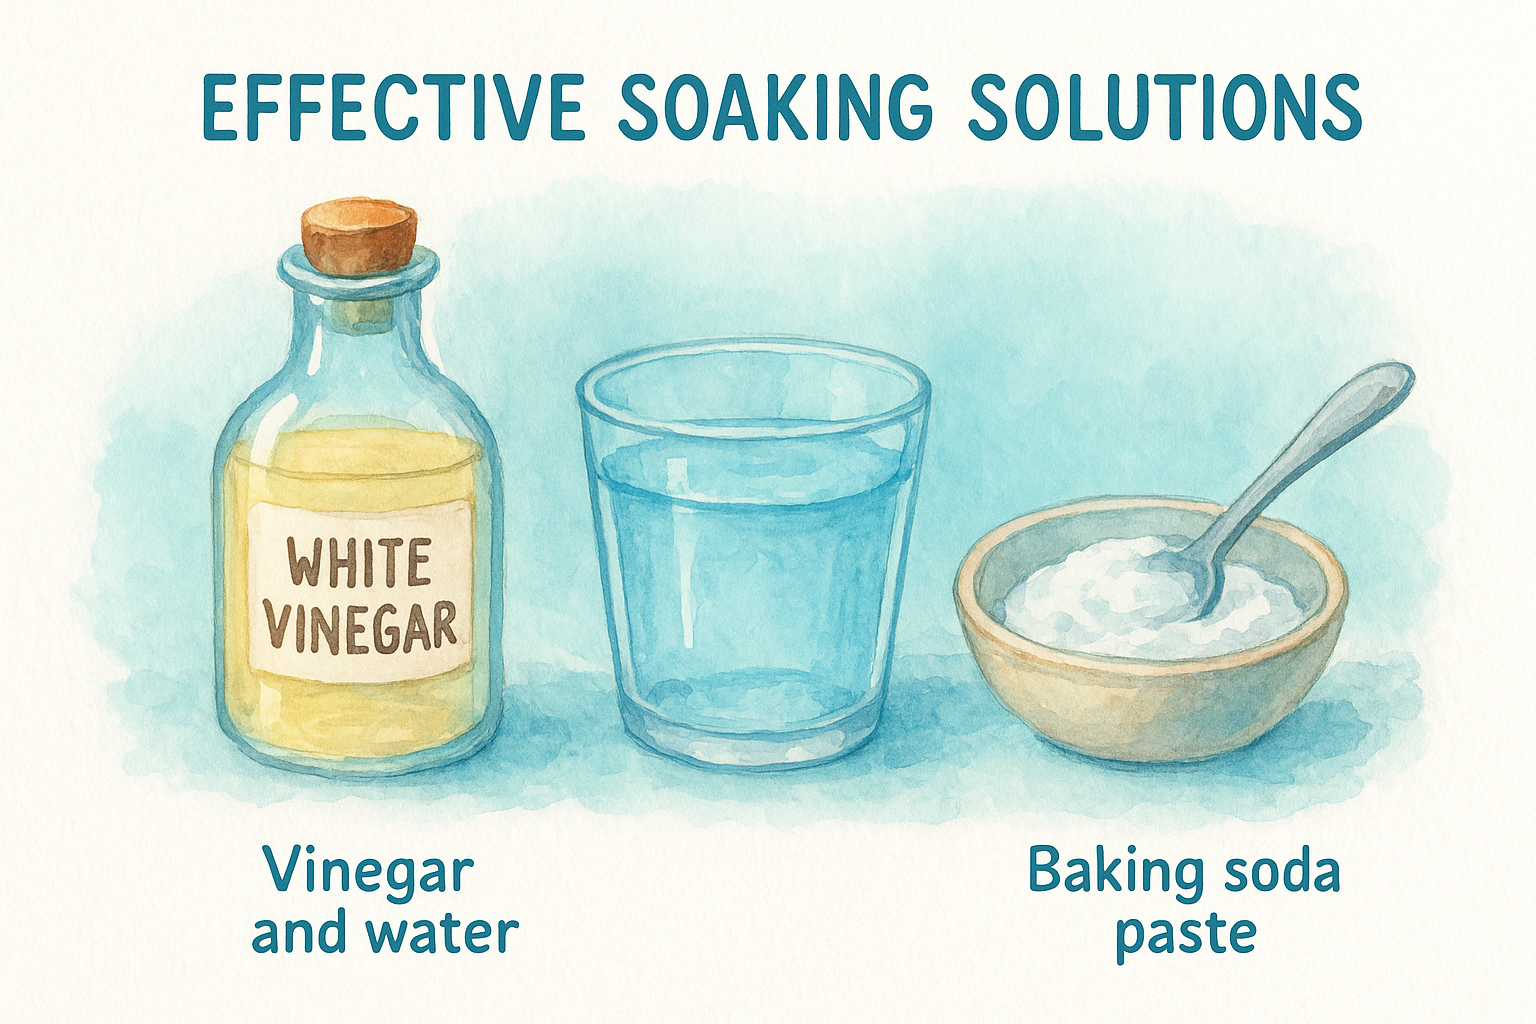
Baking soda paste offers another gentle yet powerful option for weekly maintenance. Dissolve two tablespoons of baking soda in a cup of water to create an alkaline solution that neutralizes odors and removes surface stains. This method works especially well if your night guard has developed yellowing or discoloration.
Weekly soaking with vinegar or baking soda eliminates embedded bacteria that daily brushing leaves behind.
Commercial cleaning tablets designed for dental appliances provide the strongest antibacterial action. Brands like Polident or Efferdent contain oxygen-releasing agents that penetrate deep into the material. Drop one tablet into a glass of water and follow the package directions for soaking time.
The soaking process
Follow these steps once per week:
- Brush your night guard with soap first
- Submerge completely in your chosen solution
- Soak for 15 to 30 minutes (never longer than an hour)
- Rinse thoroughly under running water
- Inspect for remaining debris and brush again if needed
Step 3. Use an ultrasonic cleaner
An ultrasonic cleaner provides the most thorough sanitization option for your night guard without any manual scrubbing. These compact devices use high-frequency sound waves to create microscopic bubbles that penetrate every crevice and remove bacteria from hard-to-reach areas. While not essential for basic maintenance, an ultrasonic cleaner complements your daily and weekly routine when you want professional-level results at home.
How the technology works
Ultrasonic cleaners generate sound waves between 20,000 and 40,000 Hz that create rapid pressure changes in water. These pressure variations form tiny bubbles in a process called cavitation. When the bubbles collapse, they release intense localized energy that dislodges bacteria, plaque, and organic debris from your night guard's surface and microscopic pores.
Ultrasonic cleaning reaches areas that brushing and soaking cannot, providing the deepest sanitization possible.
This technology eliminates 99% of bacteria within three to five minutes without harsh chemicals or abrasive contact. The gentle yet powerful cleaning action preserves your night guard's shape and finish while removing contaminants that cause odors and infections.
Operating your ultrasonic cleaner
Follow these steps for optimal results:
- Fill the tank with water to the indicated line
- Place your night guard in the basket (not touching the tank bottom)
- Run for 3 to 5 minutes on the standard cycle
- Rinse thoroughly under running water
- Air dry completely before storage
Use your ultrasonic cleaner two to three times per week for maximum freshness and protection.
Cleaning agents to avoid
Certain cleaning products damage your night guard's material, weaken its structure, or leave harmful residues that irritate your mouth. While researching what to use to clean night guard appliances, you'll encounter many suggestions that seem effective but actually cause permanent harm. Harsh chemicals create microscopic cracks in the plastic that trap bacteria and accelerate wear. Abrasive substances scratch the surface, creating rough patches where microorganisms colonize more easily.
Harsh chemical cleaners
Never use bleach, hydrogen peroxide, or alcohol-based mouthwashes on your night guard. These strong oxidizers break down the plastic polymers and cause warping, brittleness, and discoloration. Bleach especially damages the material's molecular structure, shortening your night guard's lifespan by months or years.
Avoid toothpaste for cleaning your night guard because most formulas contain abrasive particles like silica or calcium carbonate designed to polish tooth enamel. These same particles create permanent scratches and cloudy patches on softer plastic materials.
Harsh chemicals and abrasive cleaners cause irreversible damage that makes your night guard less effective and harder to clean.
Products to skip include:
- Chlorine bleach or bleach-based cleaners
- Rubbing alcohol (isopropyl alcohol)
- Hydrogen peroxide above 3% concentration
- Mouthwash containing alcohol
- Denture cleaners with persulfate compounds (if you have allergies)
- Hot or boiling water (causes warping)
Stick with gentle soaps, vinegar solutions, and specialized dental appliance cleaners to maintain your night guard safely.
Keeping your smile healthy
You now know exactly what to use to clean night guard appliances with simple household items and professional-grade tools. Daily brushing with mild soap, weekly soaking in vinegar or baking soda solutions, and optional ultrasonic cleaning give you complete control over bacteria elimination and odor prevention. These three maintenance steps take less than five minutes total each week while protecting your oral health and extending your night guard's lifespan by months or years.
Consistent cleaning habits prevent painful infections, embarrassing bad breath, and expensive premature replacements that drain your budget. Your commitment to proper hygiene pays immediate dividends in fresher breath, healthier gums, and peace of mind knowing your appliance stays bacteria-free night after night. Start with daily soap brushing tomorrow morning and add weekly soaks to your routine. If you want professional-grade cleaning results at home without the hassle of manual scrubbing, explore Remi's ultrasonic cleaning devices for the deepest sanitization possible.

