

Your dental appliance works hard to protect your teeth, but when was the last time you gave it a proper clean? Whether you wear a night guard, retainer, or sleep apnea device, learning how to clean dental appliances the right way matters more than most people realize. Bacteria, plaque, and mineral deposits accumulate quickly, and without regular cleaning, that protective device can become a breeding ground for germs.
At Remi, we create custom night guards and retainers designed to fit your smile perfectly. But even the highest-quality appliance needs consistent care to stay effective. Using the wrong cleaning methods, like hot water, abrasive toothpaste, or harsh chemicals, can warp, discolor, or permanently damage your device.
This guide gives you safe, step-by-step instructions for cleaning every type of dental appliance. You'll learn which tools and products actually work, which substances to avoid, and how to build a quick daily routine that keeps your appliance fresh, odor-free, and ready to do its job night after night.
What to know before you start
Before you learn how to clean dental appliances, you need to understand what actually damages them. Many people unknowingly use products and methods that create cracks, scratches, or discoloration. Hot water warps plastic, abrasive toothpastes scratch the surface (creating hiding spots for bacteria), and harsh chemicals like bleach degrade the material over time. Your appliance fits your teeth precisely because it maintains its exact shape, so protecting that integrity matters.
Understanding what damages dental appliances
High temperatures destroy dental appliances faster than anything else. Water above 120°F softens the acrylic or plastic, causing it to lose its custom shape. Once warped, your appliance won't fit properly and may need replacement. Dishwashers, boiling water, and even hot tap water can reach damaging temperatures within seconds.
Abrasive substances create microscopic scratches that trap bacteria and cause permanent cloudiness. Regular toothpaste contains silica or other polishing agents designed for tooth enamel, not soft plastic. These scratches build up over time, making your appliance look dingy and harder to disinfect.
Avoiding heat and abrasives prevents 90% of preventable damage to dental appliances.
Gathering the right cleaning supplies
You need simple, gentle tools that won't harm your appliance. A soft-bristled toothbrush dedicated solely to appliance cleaning works best. Regular dish soap (unscented, clear varieties) provides effective cleaning without harsh additives. White vinegar serves as a safe disinfectant and deodorizer, while baking soda tackles stubborn buildup.
Specialized products like denture cleaners or retainer cleaning tablets offer convenience, but check the ingredient list first. Avoid anything containing alcohol, which dries out and cracks plastic. A clean cup or bowl for soaking, along with room-temperature or lukewarm water, completes your basic setup. Having these items ready before you start makes the cleaning process quick and consistent.
Step 1. Clean it right after you remove it
When you remove your dental appliance in the morning, you hold a device covered in saliva, bacteria, and food particles. The longer these substances sit on the surface, the harder they become to remove. Waiting even a few hours allows biofilm to harden, turning soft buildup into stubborn deposits that require aggressive scrubbing (which damages the appliance). Making this first step part of how to clean dental appliances your routine prevents most cleaning problems before they start.
Why immediate rinsing prevents buildup
Your saliva contains minerals that crystallize as they dry, creating the cloudy white film you see on neglected appliances. Within 30 minutes, this film begins bonding to the plastic surface. Bacteria multiply rapidly in this environment, producing odors and increasing your risk of oral infections. Quick action stops this process before it gains momentum.
Rinsing within minutes of removal reduces cleaning time by 70% compared to letting buildup dry.
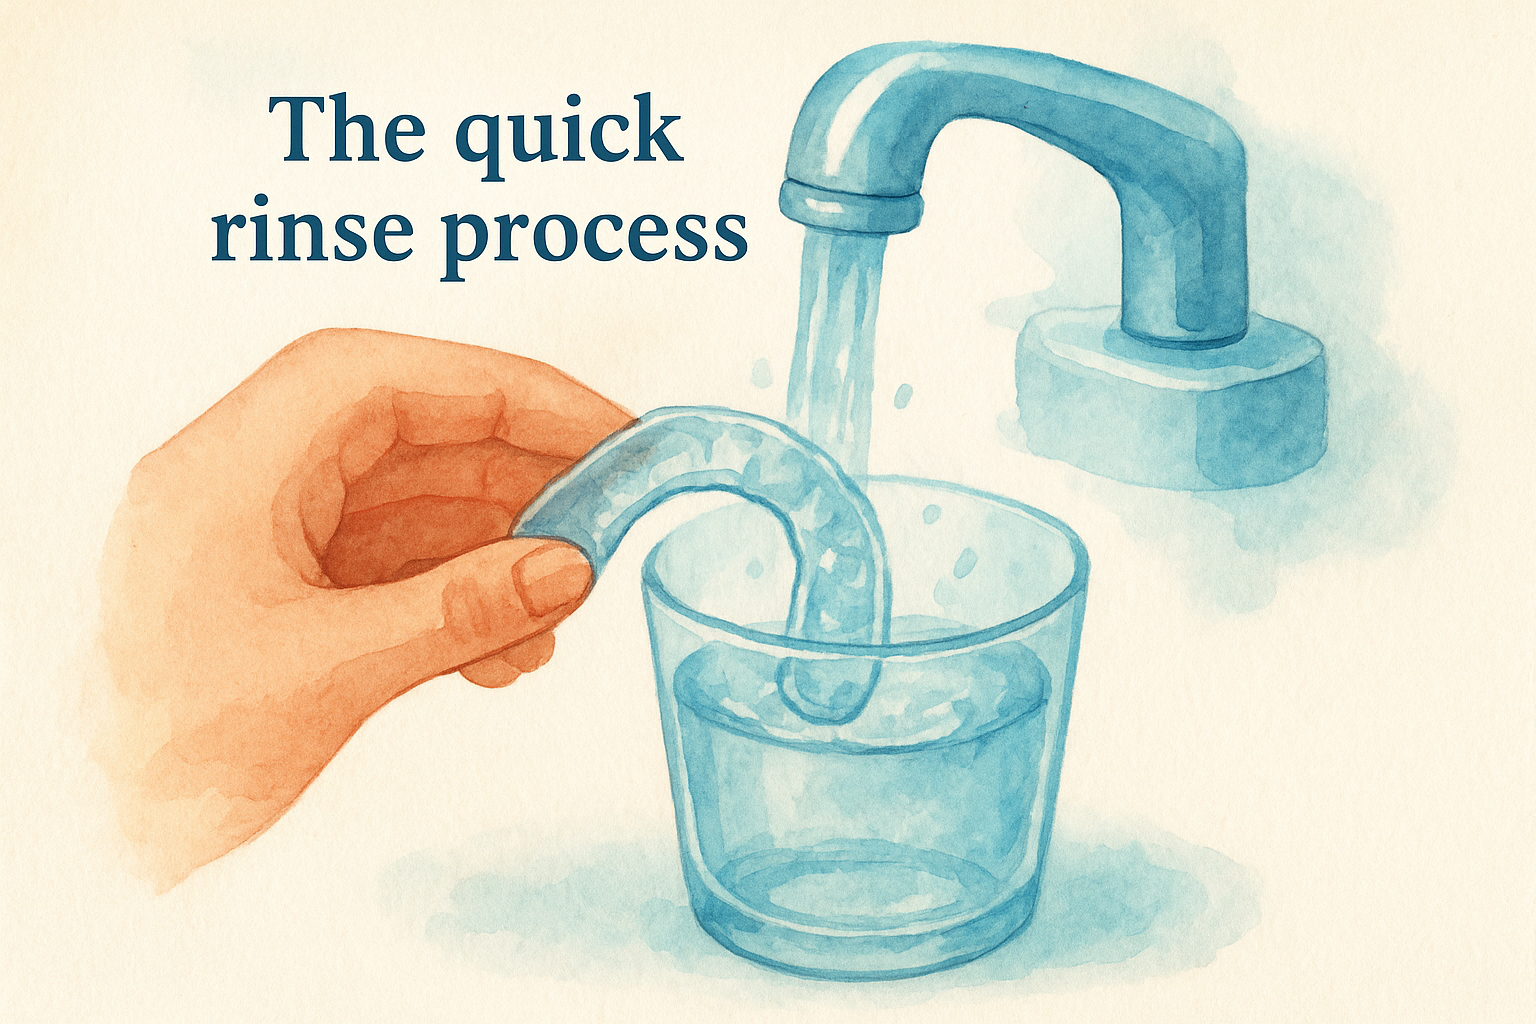
The quick rinse process
Hold your appliance under lukewarm running water for 15-20 seconds, rotating it to reach all surfaces. Use your thumb to gently rub away visible debris. Fill a clean cup with room-temperature water, place the appliance inside, and let it soak while you brush your teeth. This two-minute soak loosens remaining particles and prepares the surface for deeper cleaning. Never use hot water during this step, as temperatures above body temperature begin softening the material.
Step 2. Brush with soap, not toothpaste
After rinsing your appliance, you need to physically remove bacteria and buildup using gentle scrubbing. This step represents the most important part of how to clean dental appliances effectively. Regular toothpaste damages your appliance because it contains abrasive particles designed to polish hard tooth enamel, not soft plastic. These microscopic scratches create rough surfaces where bacteria colonize and multiply.
Why dish soap works better than toothpaste
Plain unscented dish soap cuts through organic residue without scratching the surface. The surfactants in dish soap break down saliva proteins and food particles while maintaining a pH level that won't degrade plastic. Look for clear, dye-free formulas without added moisturizers or antibacterial agents. These additives leave residue that creates an unpleasant taste and can irritate your mouth.
Dish soap removes 99% of surface bacteria without causing the microabrasions that toothpaste creates.
The proper brushing technique
Place a pea-sized drop of dish soap on your dedicated soft-bristled brush. Hold the appliance firmly and brush all surfaces using small circular motions for 30-45 seconds. Pay extra attention to the areas that contact your teeth and gums, where buildup concentrates. Apply light pressure, using the same gentle force you would on sensitive gums. Rinse thoroughly under lukewarm water for 20 seconds, running your finger over the surface to verify all soap has washed away.
Step 3. Deep clean and deodorize safely
Daily brushing handles surface cleaning, but mineral deposits and stubborn odors require deeper treatment. Once or twice weekly, your appliance needs a thorough disinfection that reaches into microscopic crevices where bacteria hide. This step in how to clean dental appliances prevents the yellowing and persistent smell that basic washing misses. You accomplish this through controlled soaking in safe solutions that break down buildup without damaging the material.
Why weekly deep cleaning matters
Biofilm accumulates in areas your brush cannot reach, creating a protective layer where bacteria thrive. This invisible coating causes the musty odor some people notice even after regular cleaning. Weekly deep cleaning dissolves these deposits and restores your appliance to a truly hygienic state. Skipping this step allows bacteria to multiply exponentially, potentially leading to gum inflammation or recurring bad breath.
Safe soaking solutions and methods
Mix equal parts white vinegar and lukewarm water in a clean cup. Submerge your appliance completely for 15-30 minutes, which kills odor-causing bacteria without harsh chemicals. Alternatively, dissolve one tablespoon of baking soda in warm water for the same soaking period. This method neutralizes acidic buildup and lifts stains.

Vinegar and baking soda provide professional-level disinfection without the cost or risk of commercial products.
After soaking, brush the appliance again with dish soap and water to remove loosened debris. Rinse thoroughly for 30 seconds under lukewarm running water, ensuring no cleaning solution residue remains.
Step 4. Dry, store, and prevent damage
Once you finish cleaning your appliance, improper drying or storage can undo all your careful work. Moisture trapped in cases creates the perfect environment for mold and bacteria growth, while incorrect storage locations expose your appliance to heat and contaminants. This final step in how to clean dental appliances determines whether your device stays hygienic between uses or becomes a health risk overnight.
Why proper drying prevents mold and warping
Water droplets clinging to your appliance provide moisture for bacterial growth within hours. Placing a wet appliance directly into its case traps this moisture, creating a humid environment where mold spores thrive. Additionally, drying your appliance near heat sources or in direct sunlight causes warping just as damaging as washing with hot water.
Air drying at room temperature eliminates 98% of moisture-related contamination risks.
The right storage method
Shake excess water from your appliance and pat it dry with a clean, lint-free cloth. Place it on a dry towel or paper towel for 15-20 minutes to air dry completely at room temperature. Check that no water remains in grooves or crevices before storing. Keep your appliance in a ventilated case with air holes, never in an airtight container. Store the case in a cool, dry location away from bathrooms (where humidity and airborne bacteria concentrate), pets, and heat sources like windowsills or radiators.
A quick wrap-up
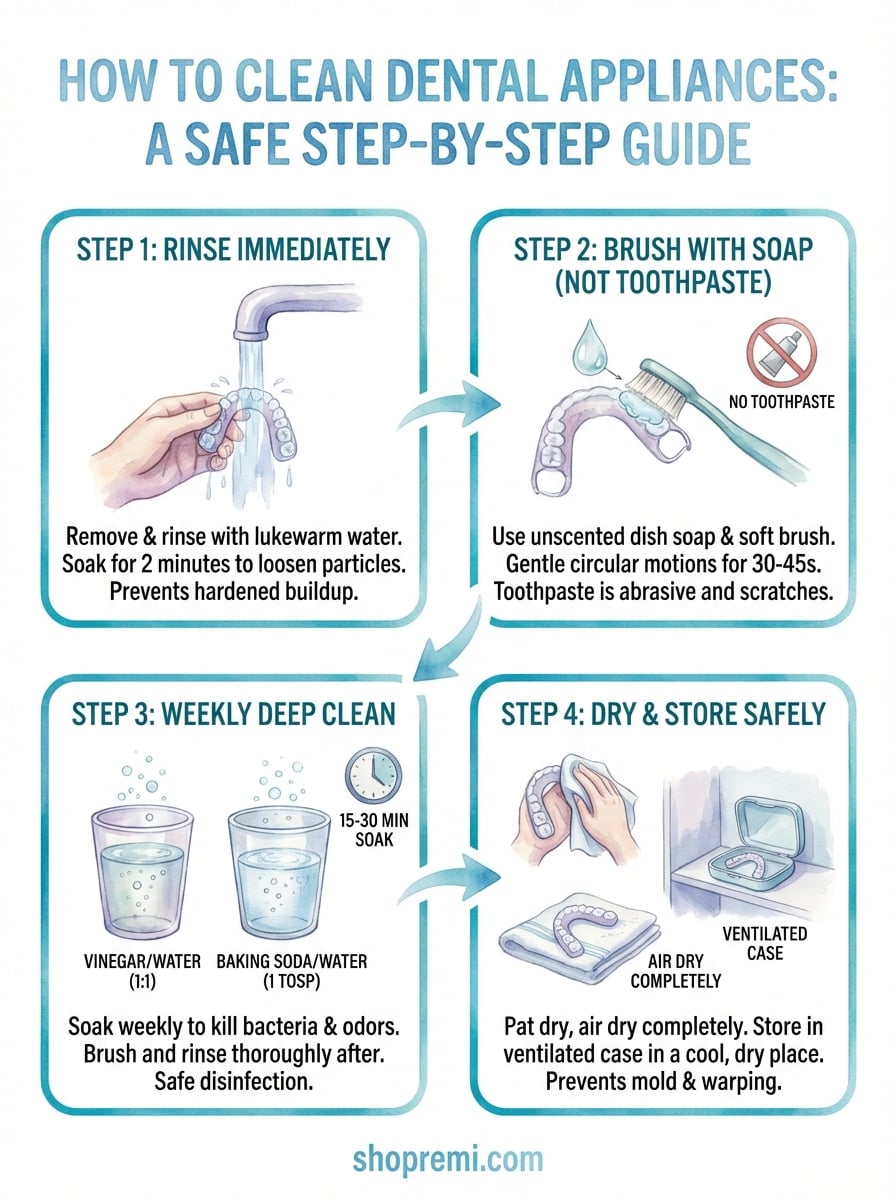
You now have every tool you need to maintain a clean, odor-free dental appliance. The four-step process in this guide on how to clean dental appliances covers immediate rinsing, gentle brushing with dish soap, weekly deep cleaning with vinegar or baking soda, and proper drying with safe storage. Following these steps prevents bacteria buildup, warping, and discoloration that shorten your appliance's lifespan.
Consistency matters more than perfection. Spending two minutes daily and fifteen minutes weekly keeps your night guard, retainer, or sleep apnea device working exactly as designed. Skip the hot water, avoid abrasive toothpaste, and never store a wet appliance in an airtight case.
Your appliance protects your smile, but it needs the right tools to stay effective. Remi's Ultrasonic Cleaner Pro provides deep cleaning that reaches areas manual brushing misses, removing bacteria and buildup in just minutes. Pair professional-grade cleaning with a custom-fit appliance for complete dental protection night after night.

