

Clear retainers do their job best when they're actually clean. Without regular cleaning, bacteria, plaque, and odor build up fast, turning your retainer from a smile-saver into something you dread putting in your mouth. Finding the right cleaner for clear retainers makes all the difference between a fresh, hygienic appliance and one that's cloudy or smelly.
At Remi, we create custom clear retainers and know firsthand how proper care extends their lifespan and keeps your oral health on track. Whether you prefer commercial cleaning solutions or simple home remedies, the right approach depends on your routine and your retainer's material.
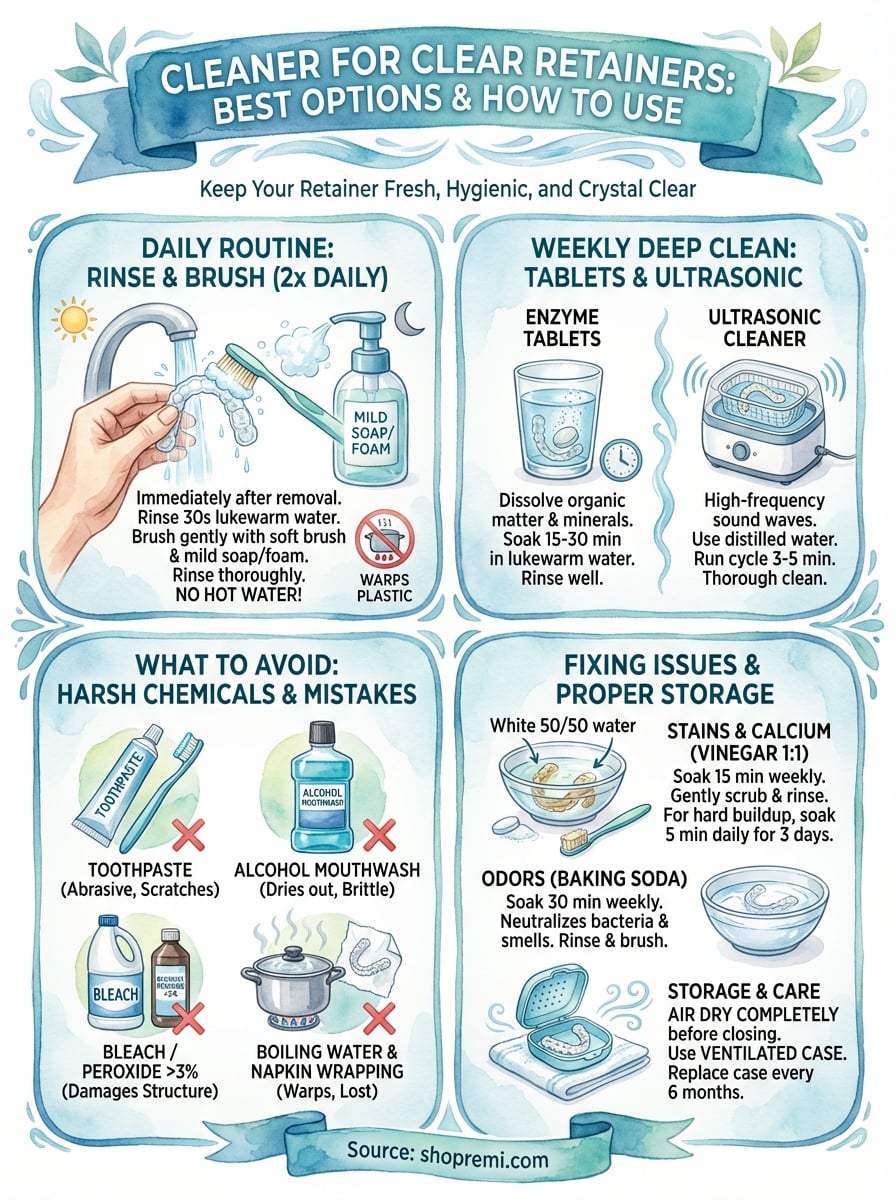
This guide breaks down the best cleaning options available, from specialized foams to DIY methods, so you can keep your retainer crystal clear and odor-free. We'll cover what works, what to avoid, and how to build a cleaning routine that actually sticks.
What to know before you pick a retainer cleaner
Your retainer material determines which cleaner for clear retainers you should use. Most clear retainers are made from polycarbonate plastic or Essix material, both of which respond differently to various cleaning agents. Using the wrong product can cause cloudiness, cracks, or permanent warping that ruins the fit. Before buying any cleaner, verify your retainer type with your dentist or orthodontist to avoid damage.
Check your retainer material first
Clear retainers fall into two main categories: polycarbonate-based appliances and thinner thermoplastic models like Essix retainers. Polycarbonate retainers handle stronger cleaning agents better, while thinner materials require gentler solutions to prevent distortion. If you're unsure which type you have, stick with mild, pH-neutral cleaners designed specifically for orthodontic appliances. These formulas work safely across all retainer types without risking structural damage or discoloration.
Using the wrong cleaner can permanently damage your retainer's fit and clarity, making replacement necessary.
Look for pH-balanced formulas
The pH level of your cleaning solution affects how well your retainer holds up over time. Highly acidic or alkaline cleaners break down plastic polymers and create micro-scratches that trap bacteria. Look for products with a pH between 6.5 and 7.5, which matches your mouth's natural environment. This neutral range cleans effectively without weakening the material or causing that hazy film you see on poorly maintained retainers.
Consider your cleaning frequency
Daily maintenance needs a different product than weekly deep cleans. For everyday use, choose gentle foam or liquid cleaners that you can apply quickly without soaking. These products remove surface bacteria and light buildup in under two minutes. Weekly treatments require stronger formulas like enzyme-based tablets or ultrasonic solutions that penetrate stubborn deposits. Matching your cleaner to your routine prevents both over-cleaning and neglect, keeping your retainer in optimal condition without excessive wear.
Daily cleaning routine for clear retainers
Your retainer collects bacteria and saliva proteins every time you wear it, which means daily cleaning isn't optional. A consistent routine takes less than three minutes and prevents the buildup that leads to cloudiness, odor, and potential oral health issues. The key is cleaning your retainer immediately after removal when debris is still soft and easy to remove.
Morning and evening rinse protocol
Start each day by rinsing your retainer under lukewarm water for 30 seconds to remove loose debris. Use a soft-bristled toothbrush designated only for your retainer and apply a small amount of clear, unscented hand soap or specialized foam cleaner. Brush all surfaces using gentle circular motions, paying extra attention to grooves where bacteria hide. Rinse thoroughly under lukewarm water for another 30 seconds to remove all soap residue.
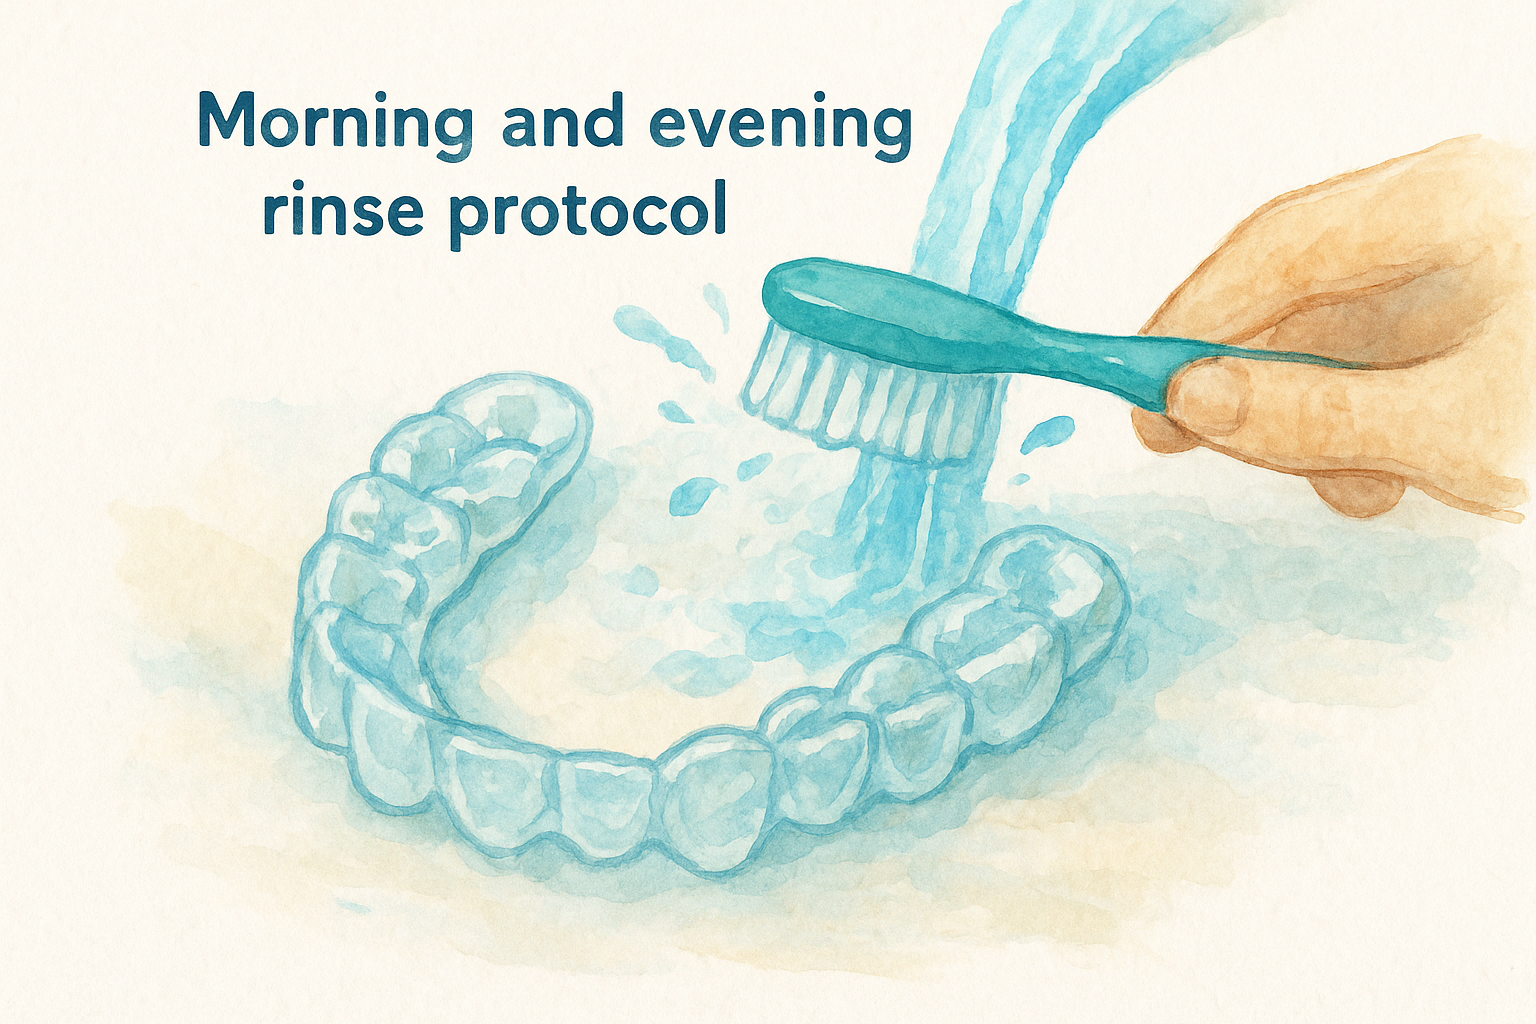
Never use hot water, which warps plastic retainers and destroys their custom fit permanently.
Before bed, repeat this exact process after you've finished eating for the day. This twice-daily cleaning prevents plaque calcification that becomes harder to remove over time. Store your retainer in its case with ventilation holes, never wrapped in a napkin where it can dry out or get accidentally thrown away.
Quick foam cleaner application
Foam cleaners designed as a cleaner for clear retainers offer the fastest daily maintenance option. Apply two pumps of foam directly onto your retainer's surface, spread it with your finger or brush, and let it sit for 60 seconds. The foam breaks down biofilm and surface bacteria without requiring a full scrub session. Rinse completely and your retainer is ready to wear.
Weekly deep clean options that work
Daily cleaning handles surface bacteria, but your retainer needs a weekly deep clean to remove mineral deposits and stubborn biofilm that regular brushing misses. These weekly sessions target calcified plaque and protein buildup that gradually clouds your retainer. Set a specific day each week for this maintenance to make it a habit you won't skip.
Enzyme-based tablet method
Enzyme tablets break down organic matter and mineral deposits that accumulate despite daily cleaning. Drop one tablet into a cup of lukewarm water and submerge your retainer completely for the time specified on the package, typically 15 to 30 minutes. The enzymes work by dissolving protein chains and calcium buildup without harsh scrubbing that damages plastic surfaces.
After soaking, use your soft brush to gently remove any loosened debris, then rinse thoroughly under lukewarm water for 60 seconds. This cleaner for clear retainers works particularly well for removing the white film that develops over time.
Enzyme tablets clean deeply without the abrasive action that scratches and weakens retainer material.
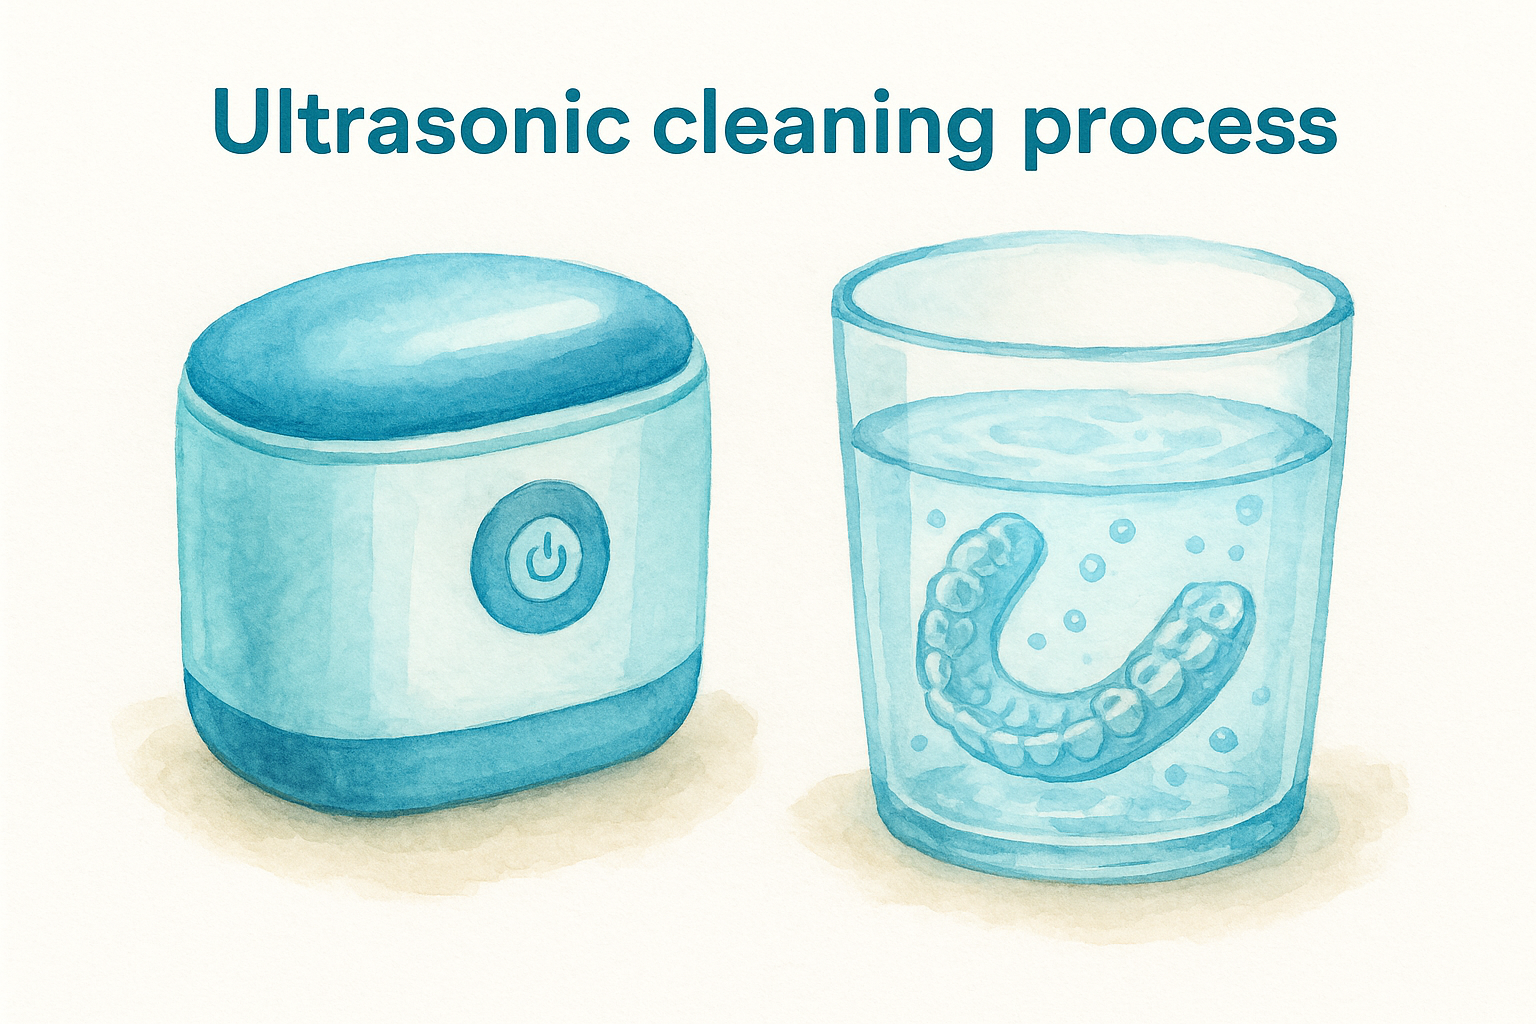
Ultrasonic cleaning process
Ultrasonic cleaners use high-frequency sound waves to dislodge particles from every groove and crevice. Fill the tank with distilled water and add one pump of specialized cleaning solution if your device recommends it. Place your retainer in the basket, run the cycle for the manufacturer's recommended time (usually 3 to 5 minutes), and remove. The vibrations reach areas your brush cannot access, making this the most thorough cleaning method available.
Avoid these products and mistakes
Certain cleaning agents destroy clear retainers despite seeming harmless or effective. Using the wrong cleaner for clear retainers causes irreversible damage like warping, discoloration, or surface etching that compromises both appearance and fit. Understanding which products and practices to avoid protects your investment and keeps your retainer functioning properly.
Never use these household products
Regular toothpaste contains abrasive particles designed to polish tooth enamel, which scratches plastic surfaces and creates microscopic grooves where bacteria thrive. Mouthwash with alcohol content dries out retainer material and causes brittleness over time. Bleach and hydrogen peroxide solutions stronger than 3% concentration damage the polymer structure and turn clear retainers cloudy white.
Avoid these common household items completely:
- Toothpaste (even whitening or "gentle" formulas)
- Alcohol-based mouthwashes
- Vinegar solutions stronger than 1:1 dilution
- Baking soda paste or powder
- Dish soap with degreasers or fragrances
- Denture cleaners not labeled for retainers
Household cleaners designed for other purposes contain chemicals that permanently alter retainer material composition.
Common cleaning mistakes to skip
Boiling water sterilizes dishes but warps retainers in seconds, making them unwearable. Wrapping your retainer in paper towels or napkins leads to accidental disposal and exposes it to bacteria from surfaces. Storing retainers while still wet creates mold growth and bacterial colonies inside the case. Let your retainer air dry for two minutes on a clean towel before storage.
Fix stains, odors, and hard buildup
Even with regular cleaning, your retainer can develop stubborn problems that daily maintenance doesn't resolve. Yellow stains, persistent odors, and hard calcium deposits signal that bacteria and minerals have penetrated deeper into the material. These issues require targeted treatment beyond your standard routine, but you can fix them at home with the right approach.
Remove yellow stains and cloudiness
Yellow discoloration comes from nicotine, coffee, tea, or accumulated bacteria that have bonded to the plastic surface. Create a solution using one part white vinegar to one part lukewarm water and soak your retainer for 15 minutes. Scrub gently with your soft brush, rinse thoroughly, and repeat weekly until stains fade. For faster results, use a cleaner for clear retainers with whitening enzymes specifically formulated to lift organic stains without damaging plastic.
Vinegar solutions stronger than 1:1 dilution can weaken retainer material over time.
Eliminate persistent odors
Lingering smells indicate bacterial colonies trapped in microscopic cracks that surface cleaning misses. Mix three tablespoons of baking soda with one cup of water and soak your retainer for 30 minutes once weekly. The alkaline solution neutralizes odor-causing acids and kills bacteria without harsh chemicals. Rinse completely and brush all surfaces before wearing again.
Dissolve hard calcium deposits
White, chalky buildup forms when minerals from saliva crystallize on your retainer. Soak the affected retainer in undiluted white vinegar for 5 minutes to soften deposits, then use gentle pressure with your brush to remove loosened material. For severe calcification, repeat this process daily for three days until buildup disappears completely.
Keep your retainer clear over time
Your retainer stays transparent and functional when you follow a consistent cleaning schedule that combines daily maintenance with weekly deep cleaning. Choose a gentle cleaner for clear retainers that matches your retainer's material and stick with products that have proven safe for orthodontic appliances. The small time investment each day prevents the expensive problem of premature replacement due to neglect or damage from harsh chemicals.
Long-term clarity depends on proper storage habits as much as cleaning technique. Always let your retainer air dry completely before closing the case, and replace your storage container every six months to prevent bacterial transfer. Check your retainer weekly for signs of wear like cracks or cloudiness that indicate you need professional evaluation or replacement.
If you need a replacement retainer or want a backup set, Remi's custom clear retainers deliver professional quality at a fraction of dental office prices. Maintaining your current retainer properly extends its life, but having a spare ensures your smile stays aligned without interruption.

